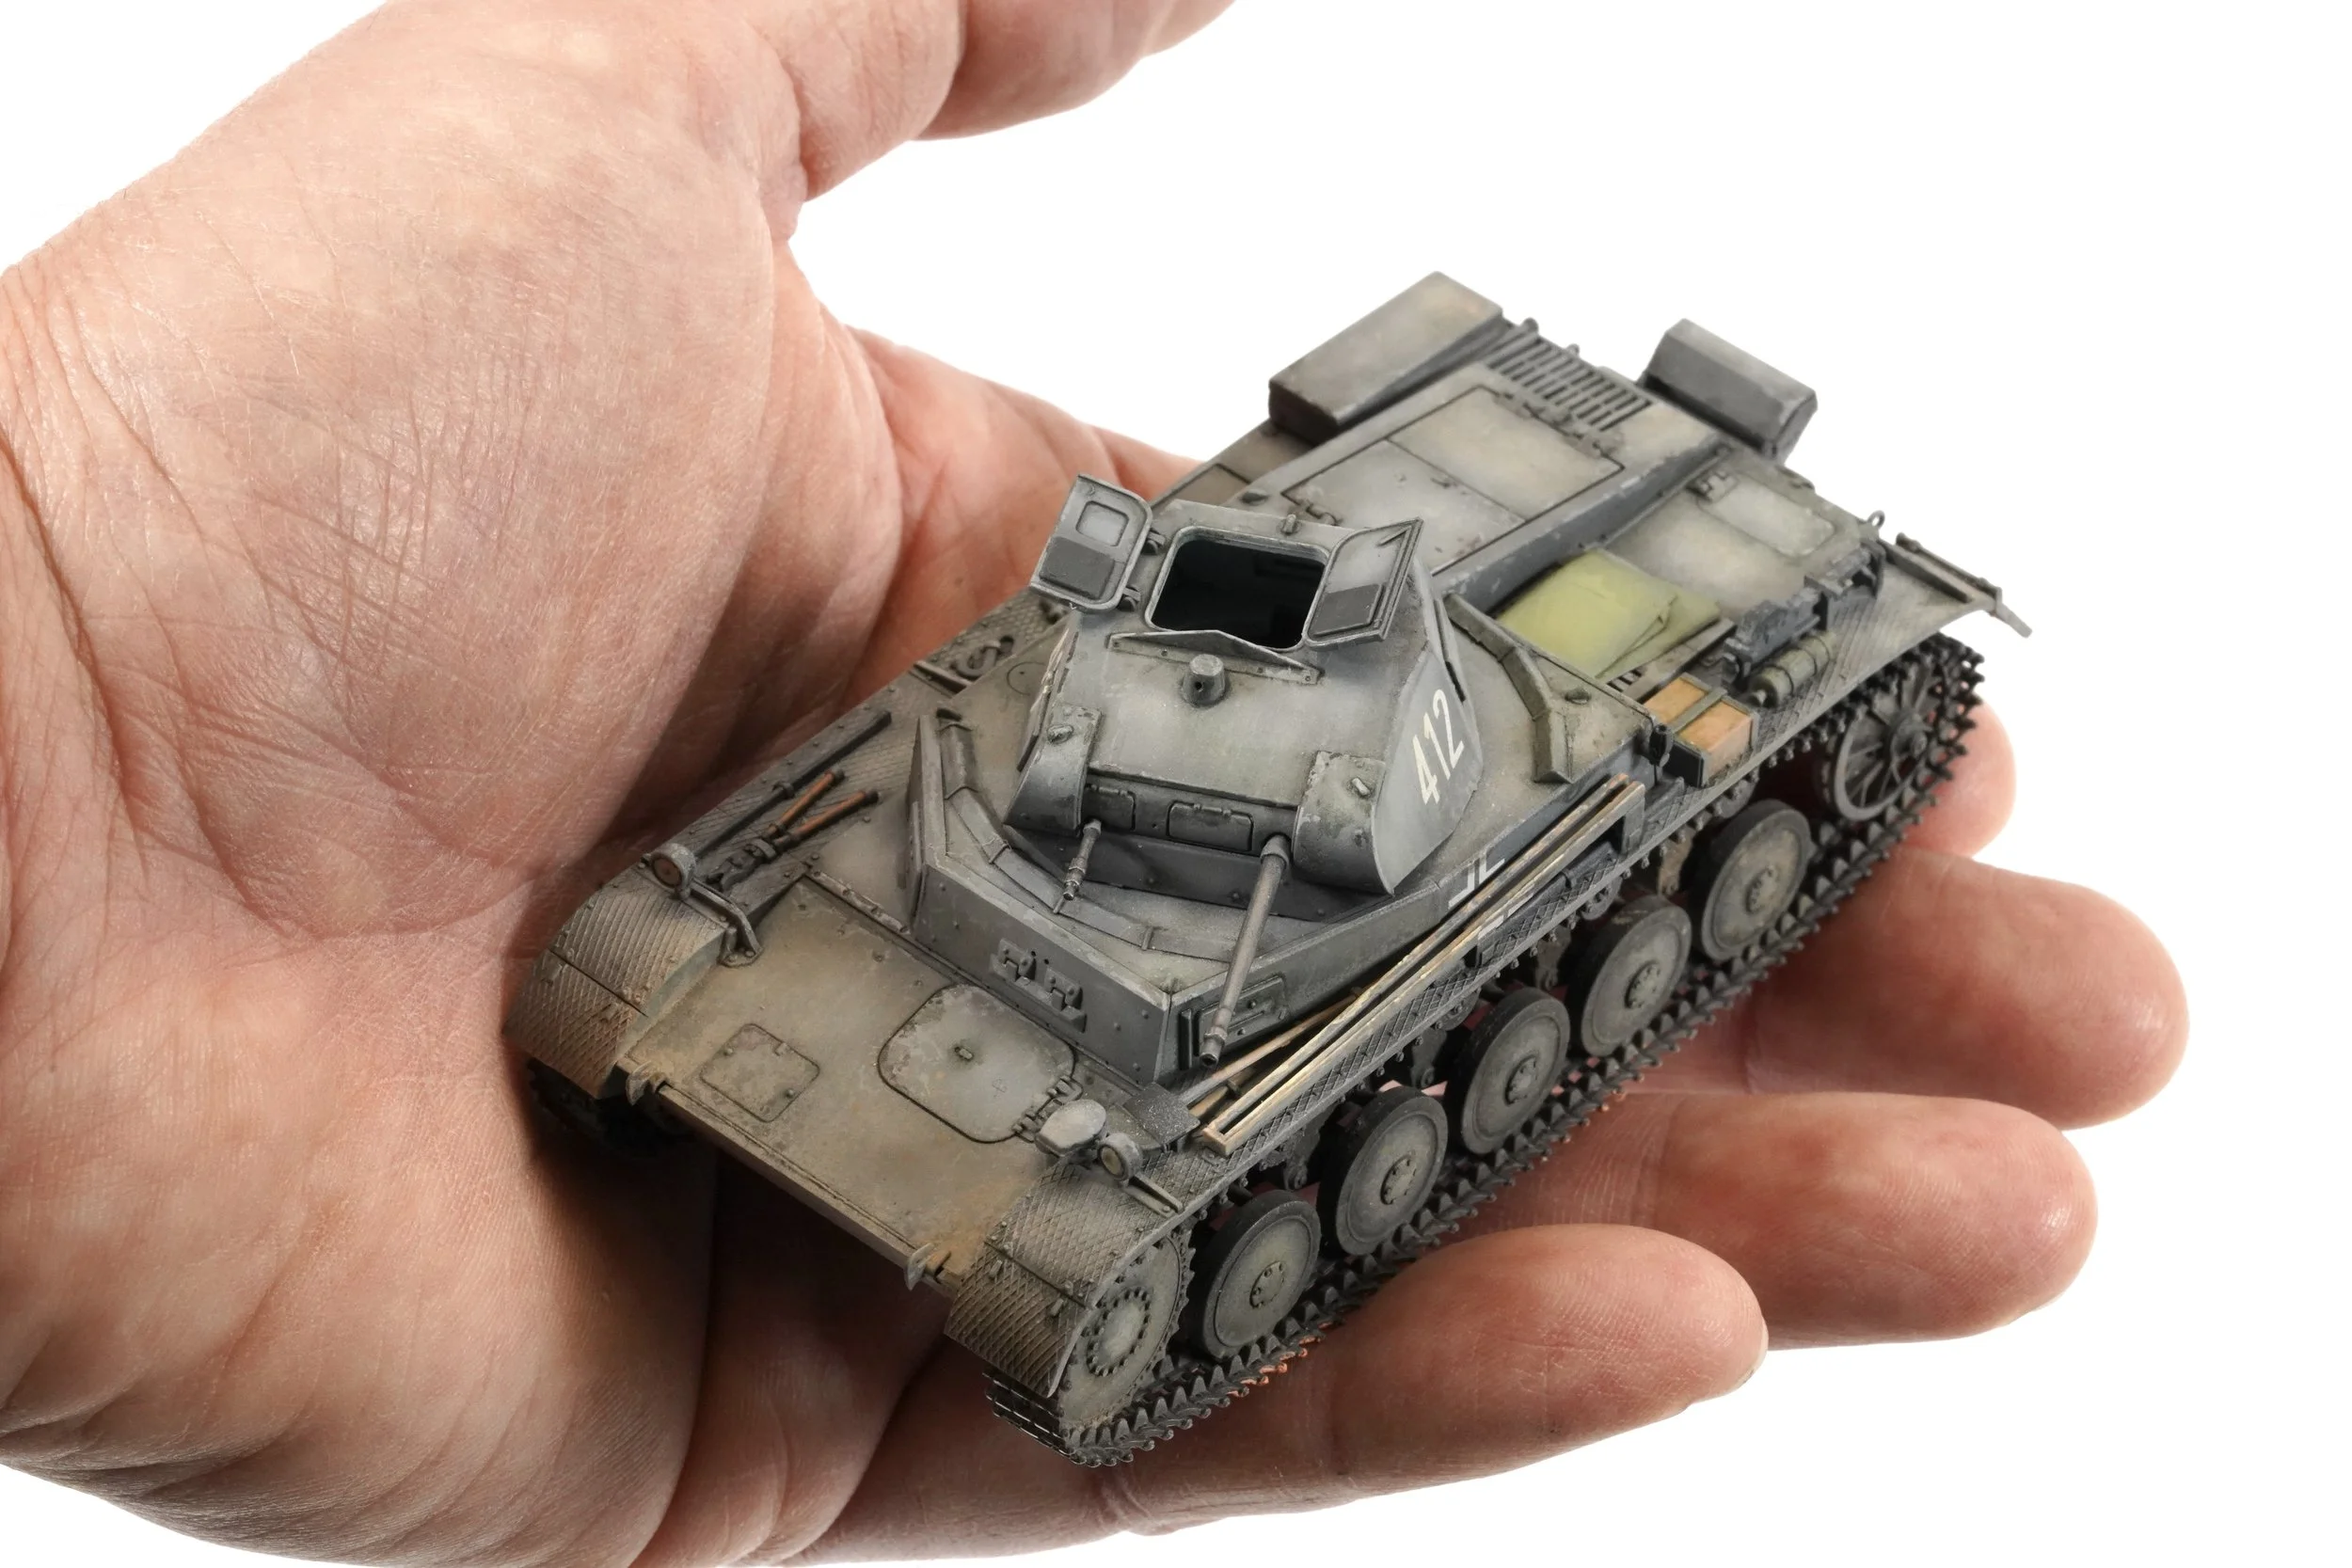
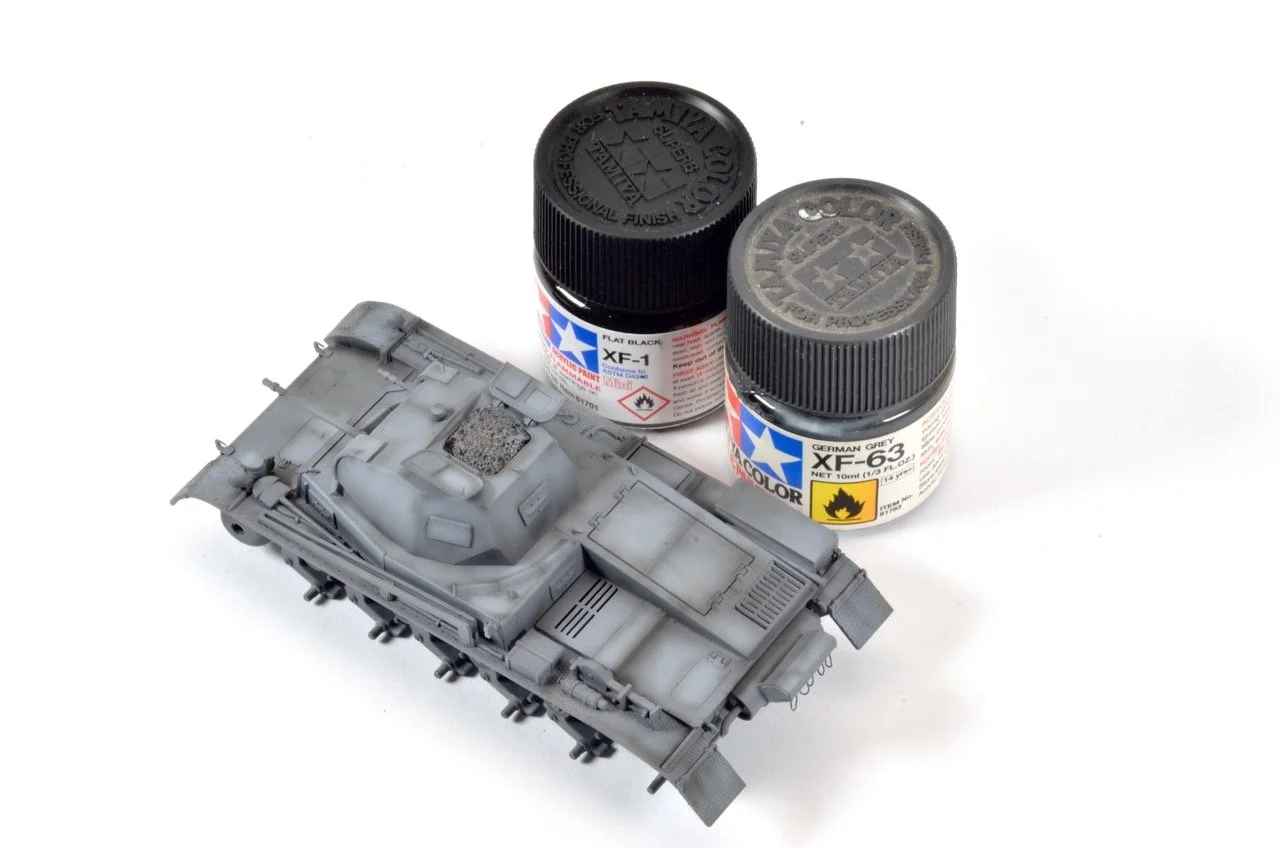
Painting & Weathering the Tamiya Panzer II

Construction begins with the track sections getting an overall coverage of a brown/grey mix made with Tamiya paints. I have no specific ratio for the mix as it is all done by eye. In saying that, most of this base colour will be hidden under layers of weathering, so it isn’t that important. It is just a tie saving thing I have introduced into most of my armour builds…at least the link and length style of tracks.
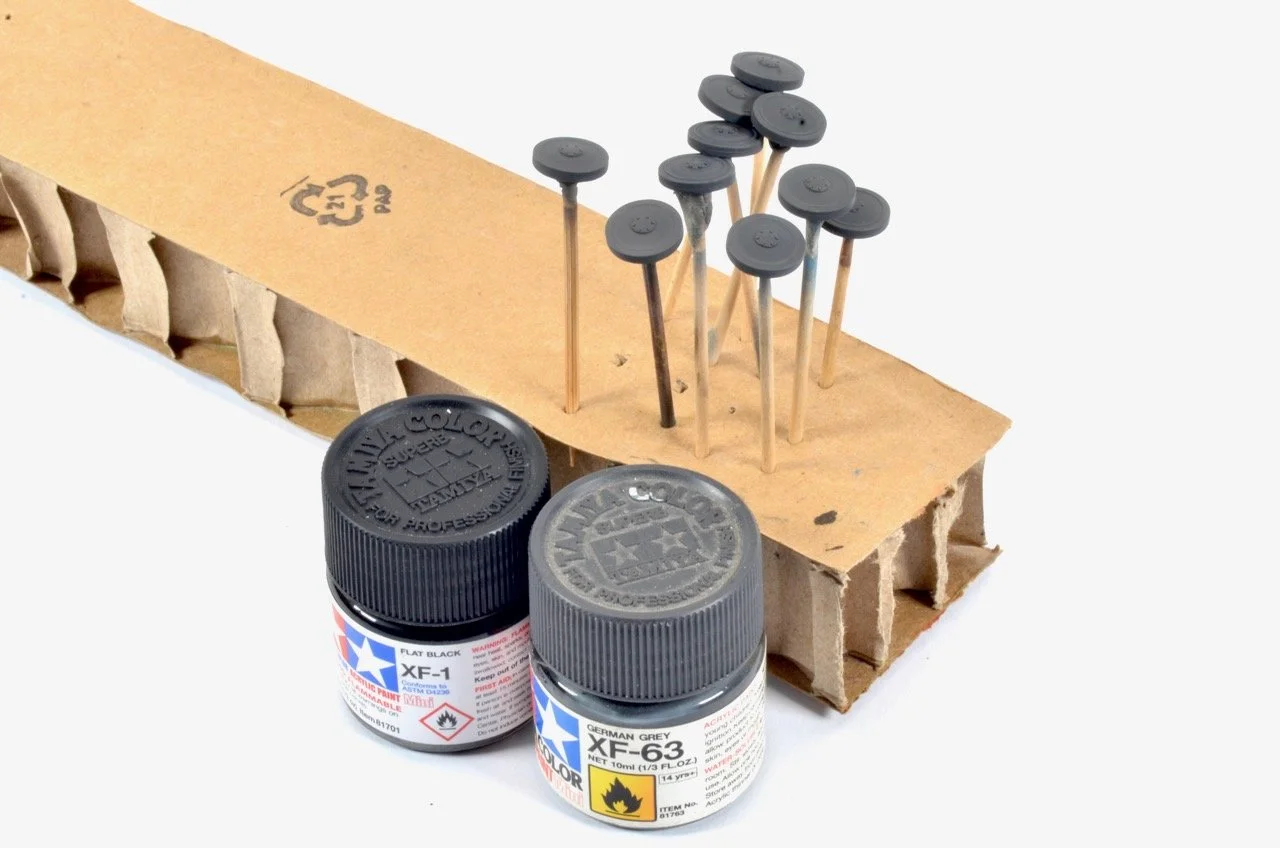
The road wheels are removed from the sprues and cleaned up with a sharp hobby blade. They were painted is a darkened mix of German Grey. This would simulate the rubber sections of the wheels.
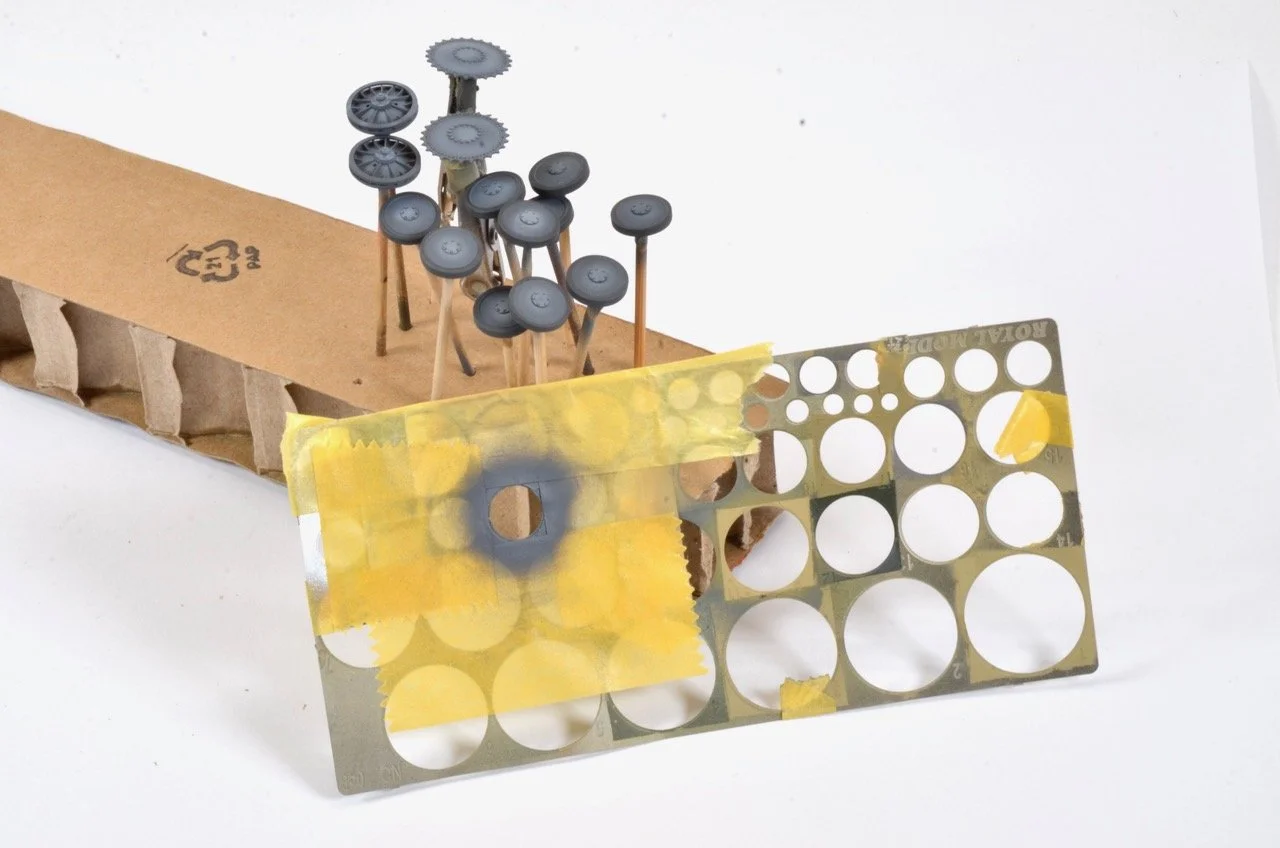
One of the most useful tools on my bench is the circular spraying template for painting road wheels. The wheels (with the aid of the mask) are then sprayed with a lightened German Grey colour. The rubber sections are nicely defined, and the painting of the wheels is complete in around 10 minutes.
DSC_5434.JPG
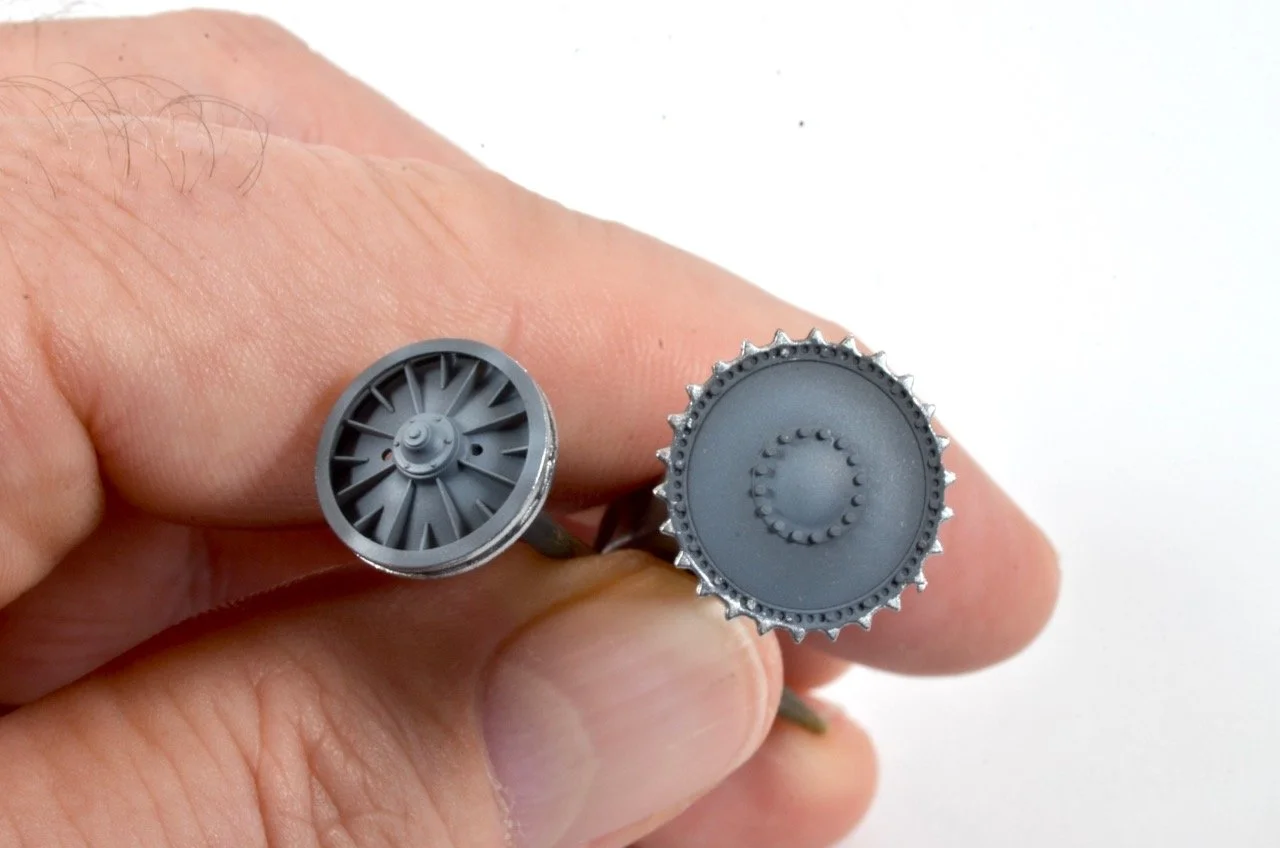
The idler and drive wheels are brush printed with an aluminium-coloured acrylic paint. The silver, once weathered will represent the parts of the wheels that would be subject to the most wear, hence wearing them down to bare metal.
Like with all of these Tamiya 48th scale armour kits, construction is incredibly simple and always a joy. The springs and swing arms are all moulded in place, so posing the model on anything other than flat terrain would be tricky, but for me that would be adequate for this model.
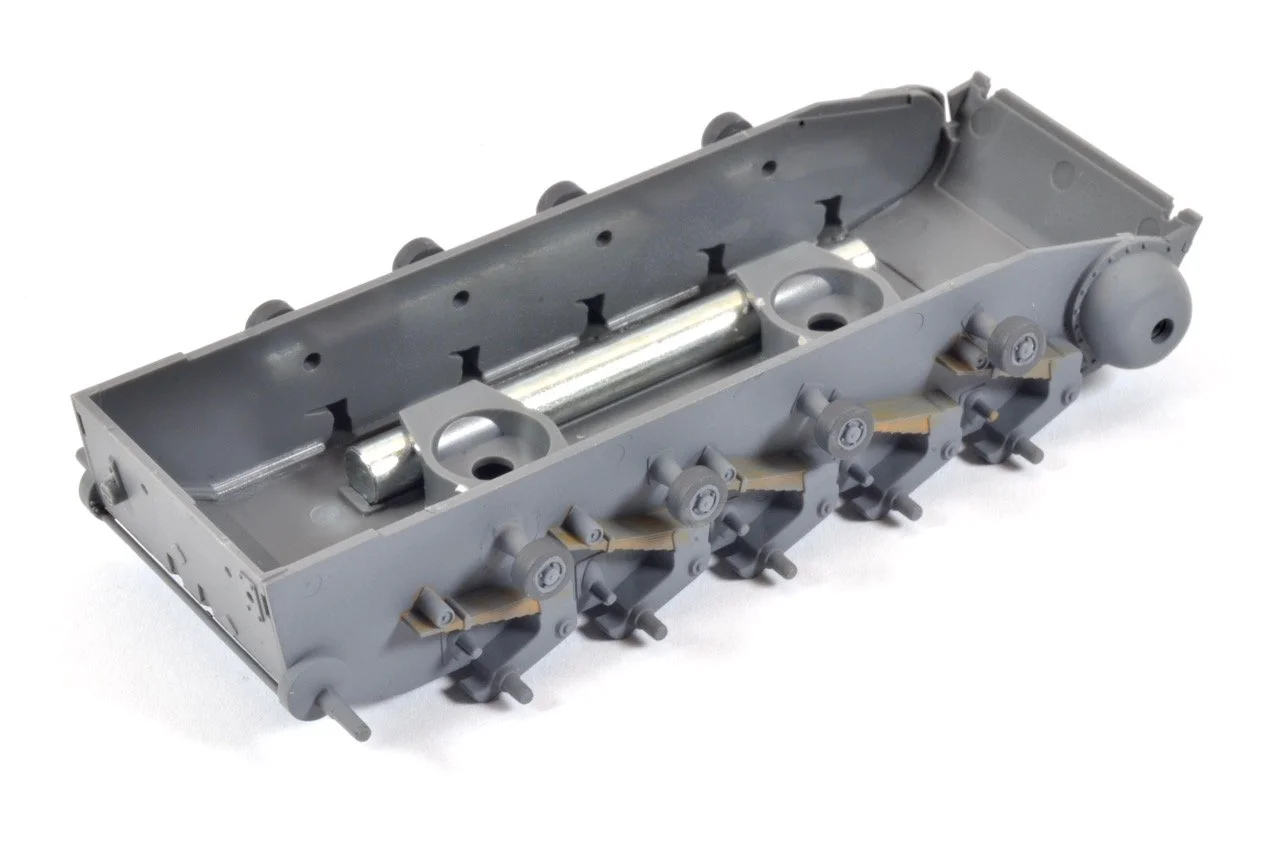
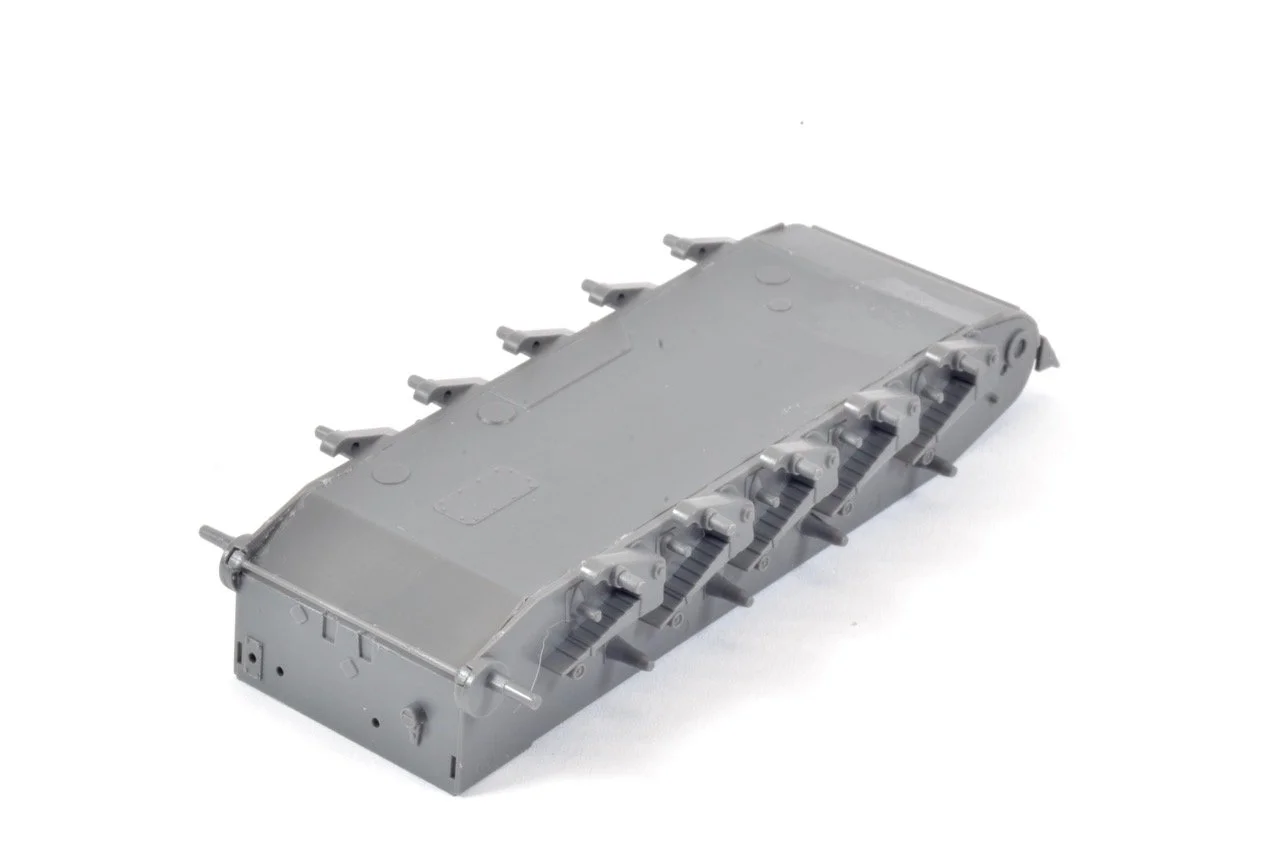
The hull section is painted in the lightened mix of German Grey at this stage because accessing it once built would be problematic. Painting at this stage is more of an insurance policy than anything. Making sure there is colour where the colour needs to be. The leaf springs are painted in a rusty tone to add some variation, but again most of the colour will be hidden under layers of weathering.
DSC_5448.JPG
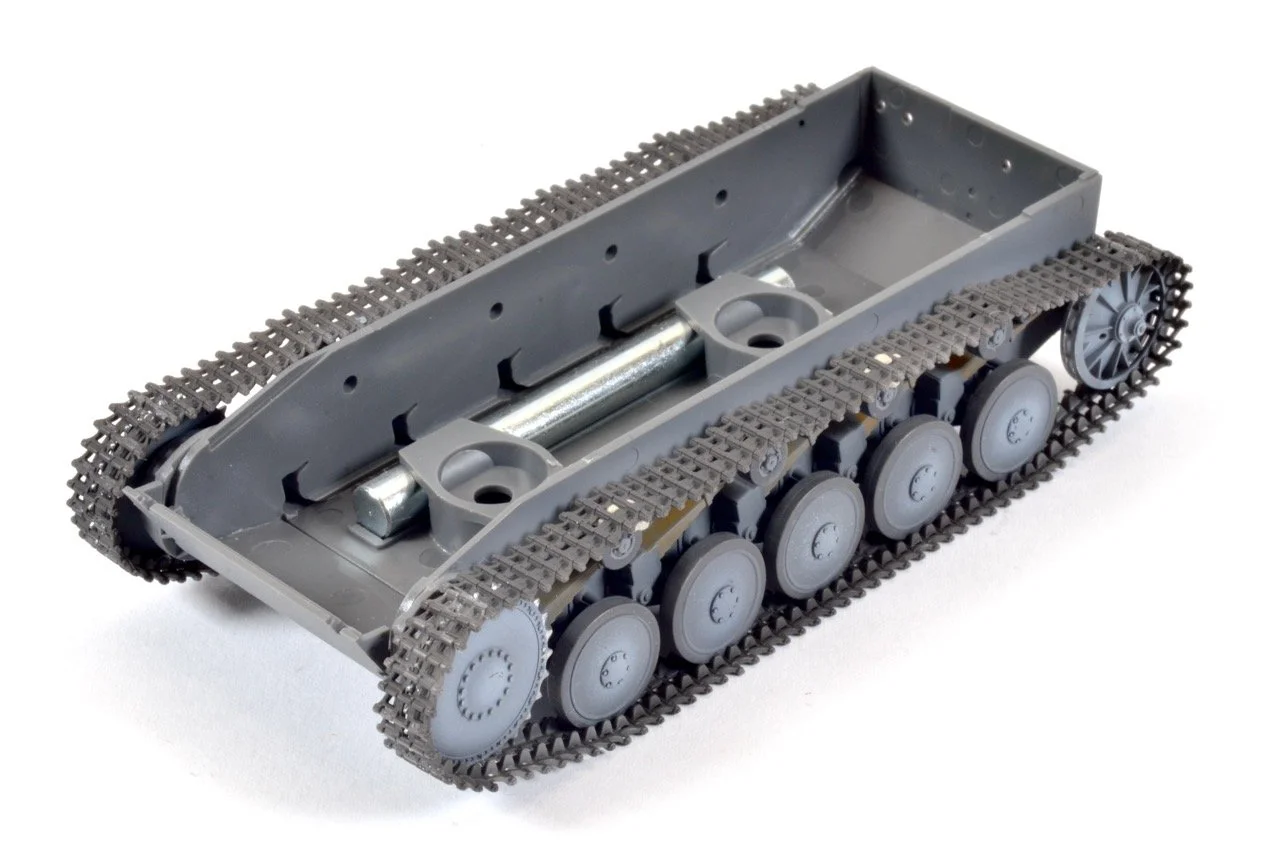
The wheel and tracks sections are now assembled. The wheels however were not glued in place but held in place with Bluetac. The only parts that were glued were the track links to the wheels themselves.
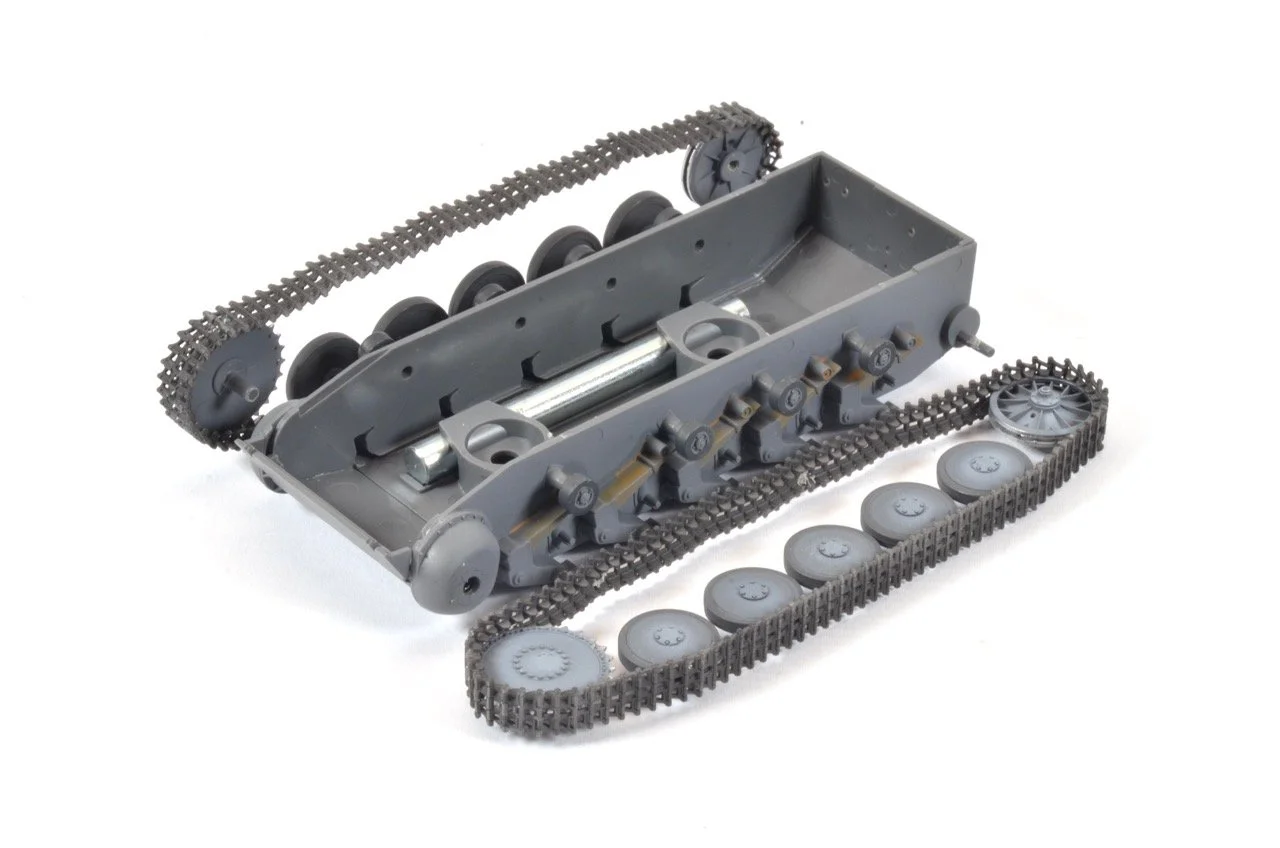
…by doing that the complete wheel and track sections could be removed for better access for painting and weathering. The sections are fragile, so a little care is required. The track sections are set aside and construction on the top side and turret were now ready to commence.
DSC_5457.JPG OR DSC_5460.JPG
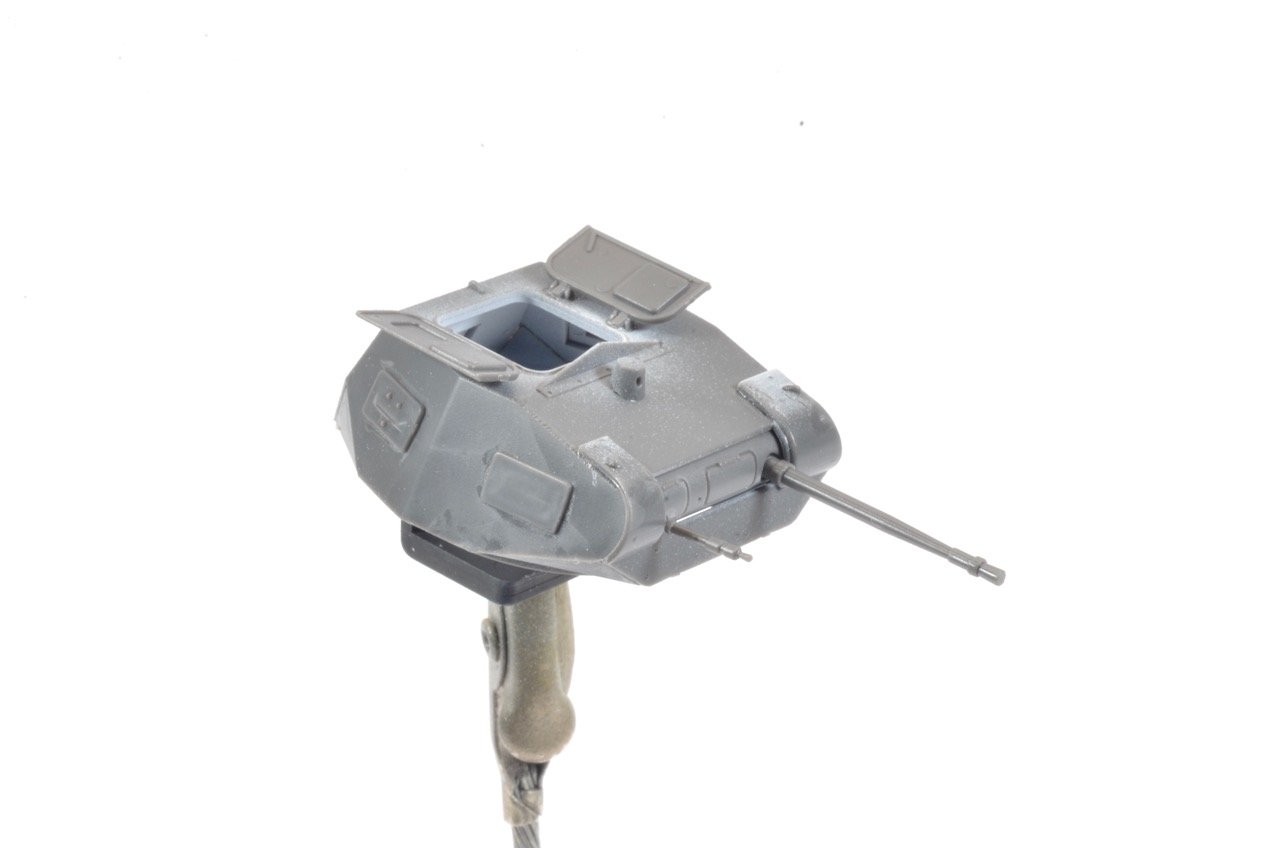
The interior of the turret was painted white, however on reflection I probably should have painted it black given there was literally nothing to see there…
The two halves of the turret are then connected and the mantlet sits proud at the front of the piece. I’d planned to have the Commander standing in the hatch, so the sections were glued in the open position.
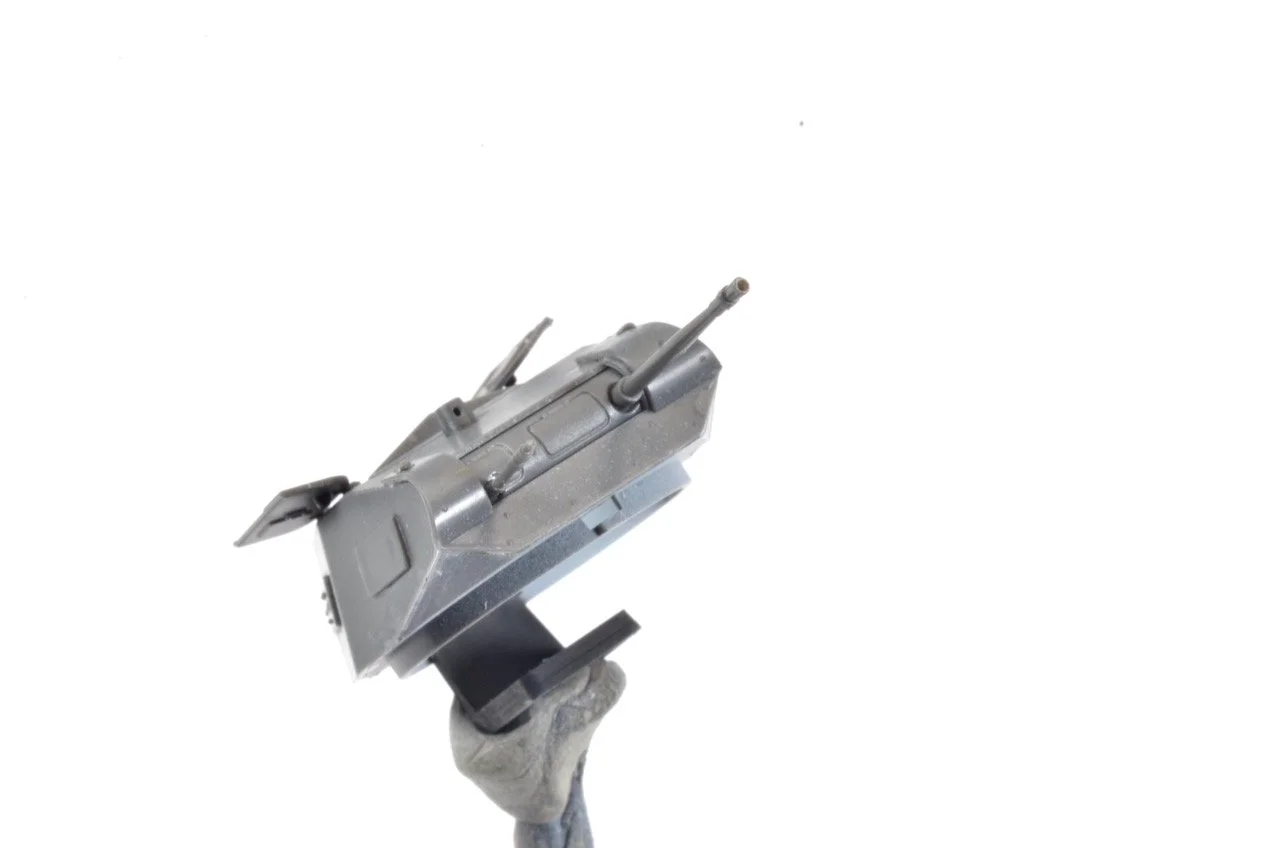
The ends of the barrels were carefully drilled out using a micro drill bit. A simple technique instantly helps elevate the look of the moulded part.
DSC_5473.JPG
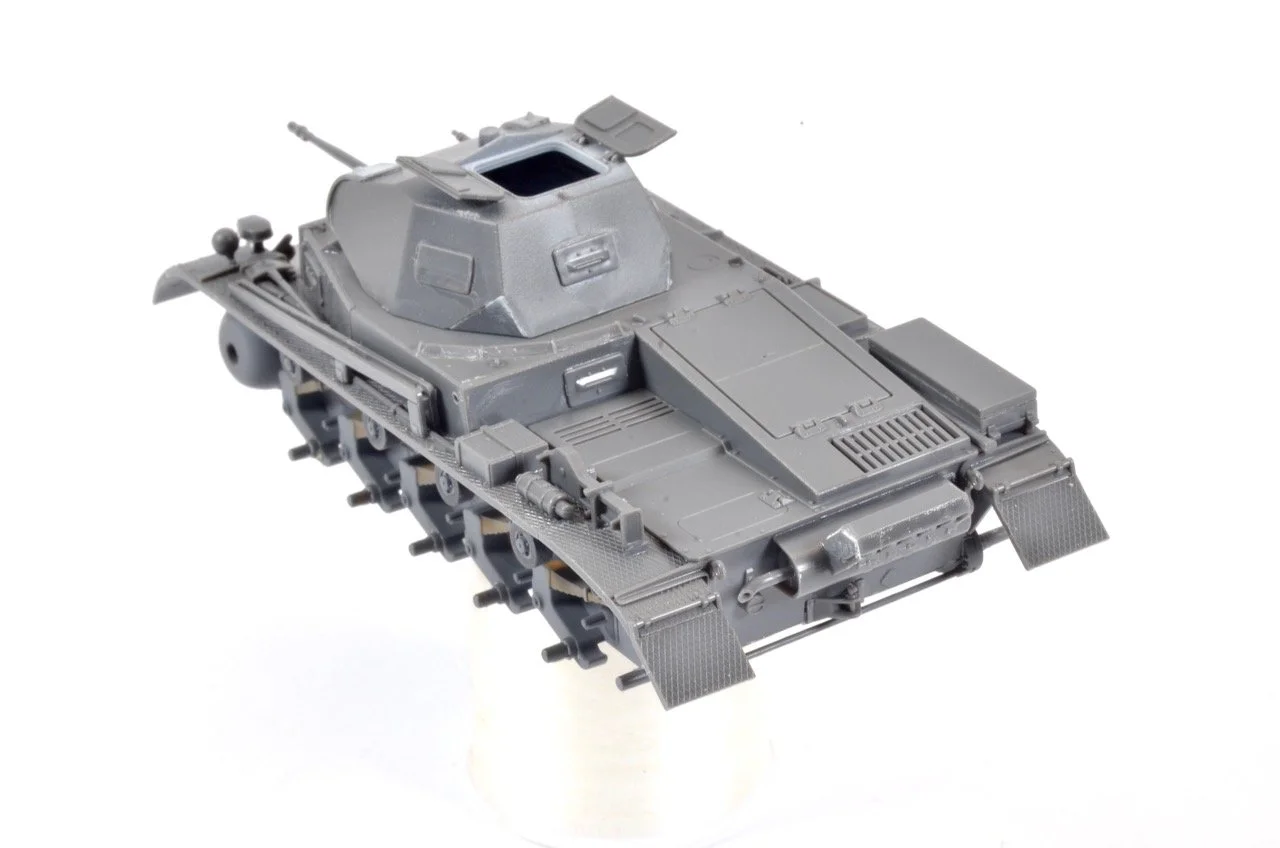
The top section of the model is built and attached to the hull and then the turret twists in place. The Panzer II was taking shape. The exhaust and smoke discharger was also glued in place.
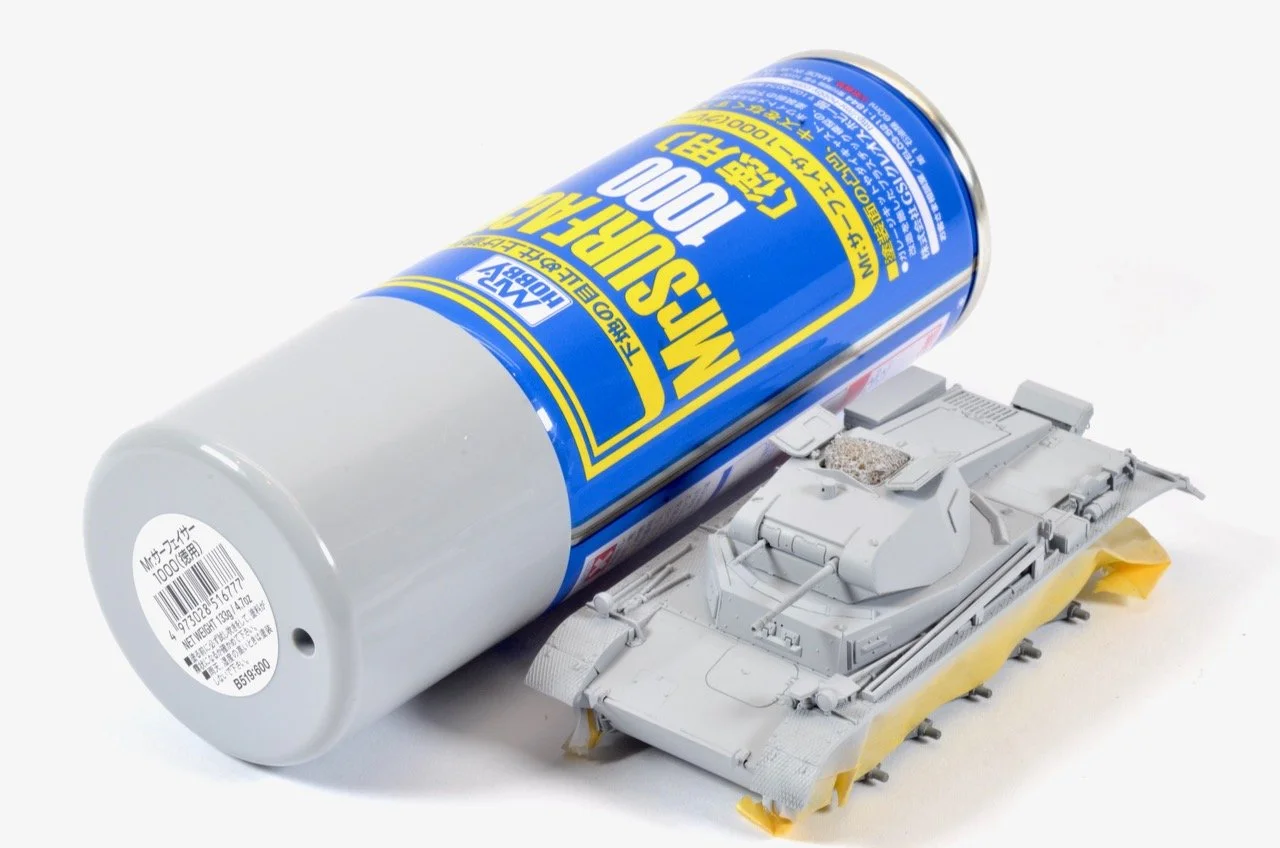
The model was now ready for painting. A basic mask was created with Tamiya tape to protect the underside of the hull. Overspray wouldn’t really be an issue as I’d made the running gear removable for this step.
Mr Surfacer 1000 was decanted and sprayed through the airbrush. I always love the look of a primed model. Everything just comes together, and the true look of the model is revealed at this point.
Once the primer coat had time to dry, the base colour of a lightened German Grey was applied. A further lightened mix was applied to various panels and horizontal surfaces. I purposely painted this layer lighter than you may expect.
The darker tones are then applied in a post-shade technique. The German Grey was darkened with black and the shadows and recesses around the model are defined.
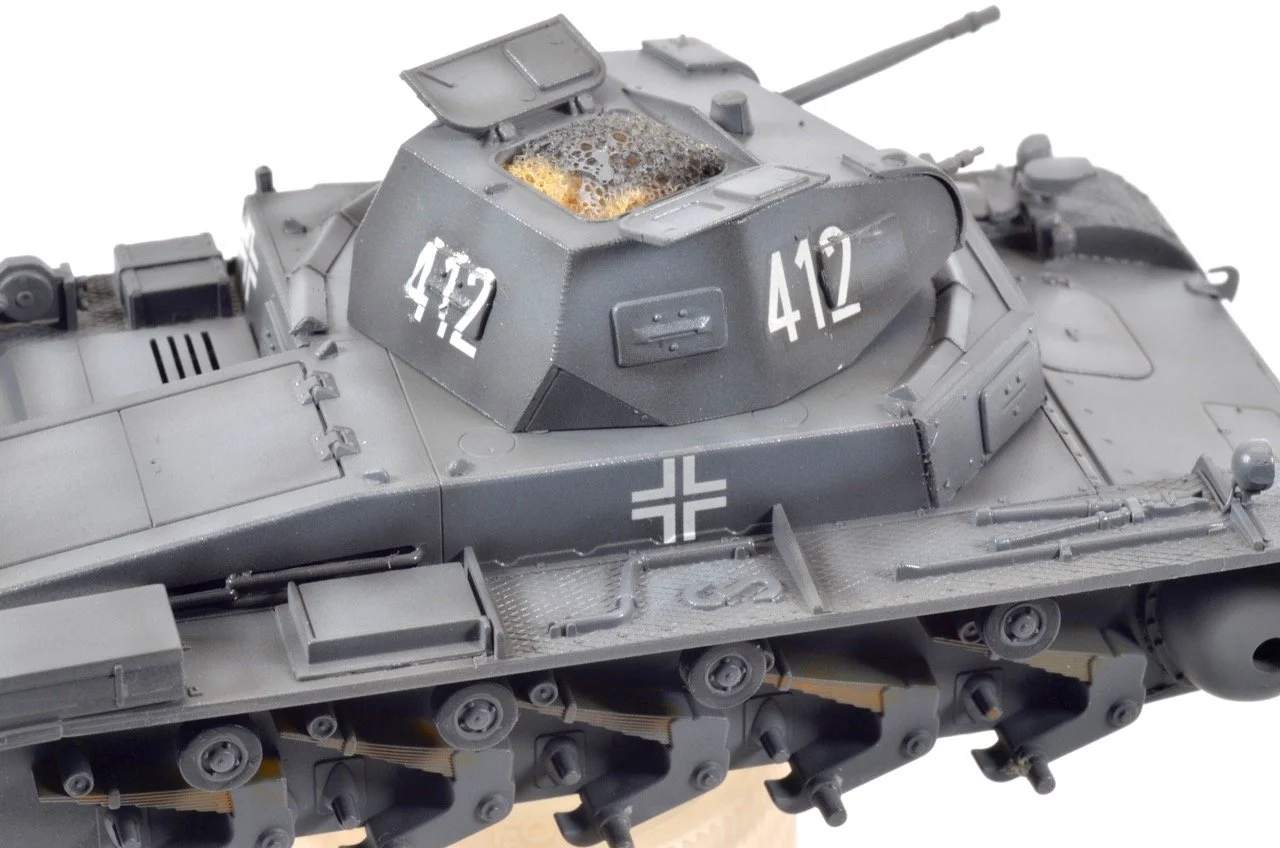
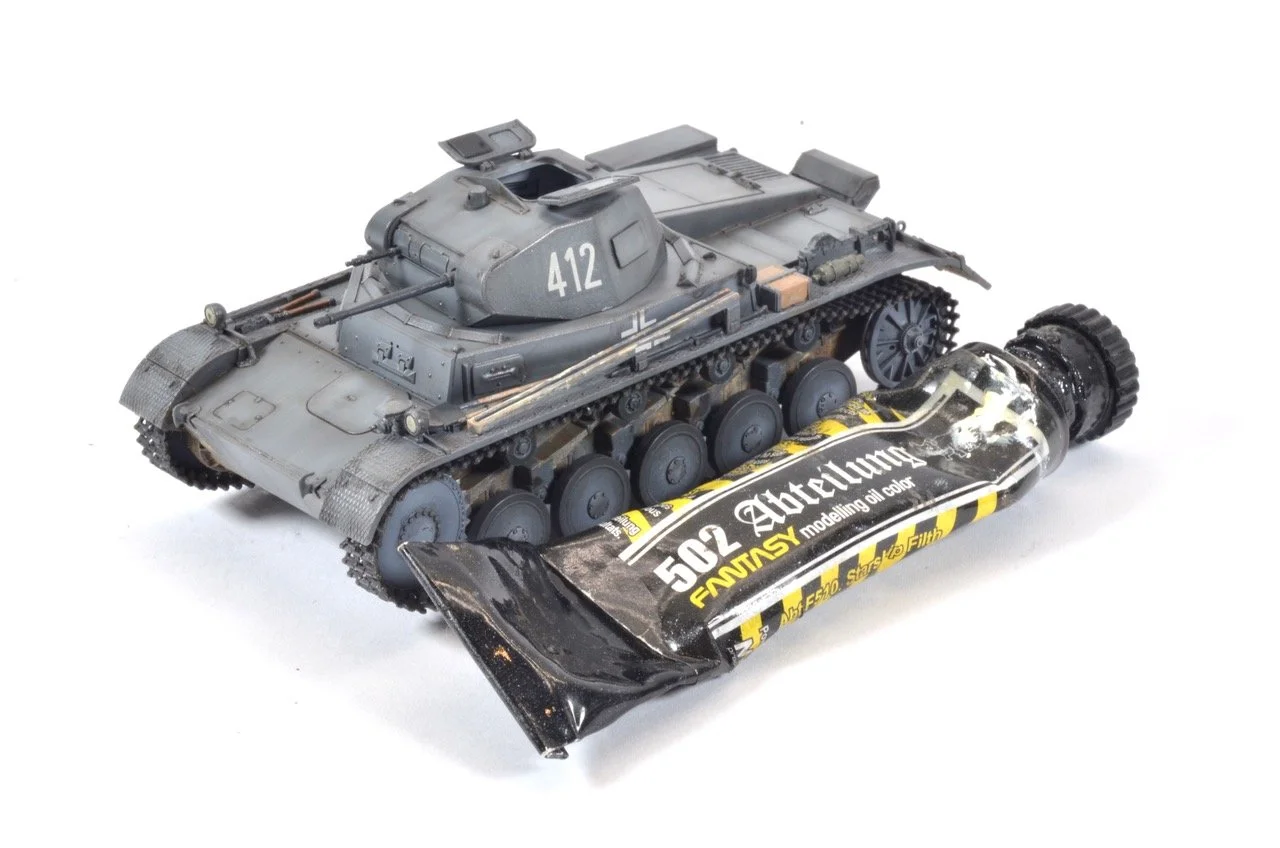
The decals were then applied with the aid of a setting solution. They looked quite messy running through the hatches, so some touch ups would be necessary, but I was confident after weathering they would be adequate.
DSC_5494.jpeg
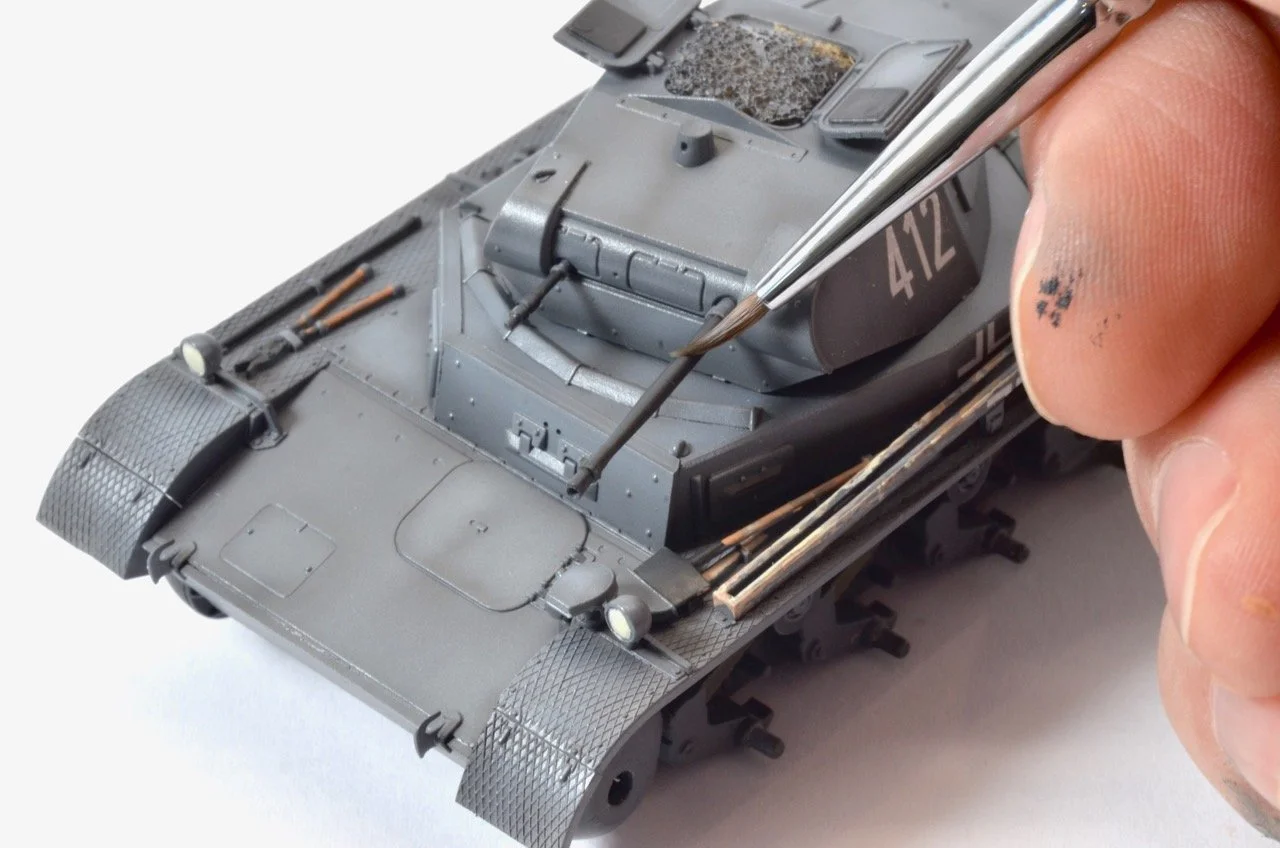
The gun barrels and tools were painted using AK Gen 3 Acrylics and a fine brush. The housing for the antenna was made from wood, so I thought I’d exaggerate the chipping on that part and introduce some yellow, brown wooden tones.

AK Dry Ground was used to create the textures around the track guards and on the underside of the model. The product is a water-based paste and is easily blended using tap water. The colour is unimportant because the effect will be integrated into the model using enamel paints.
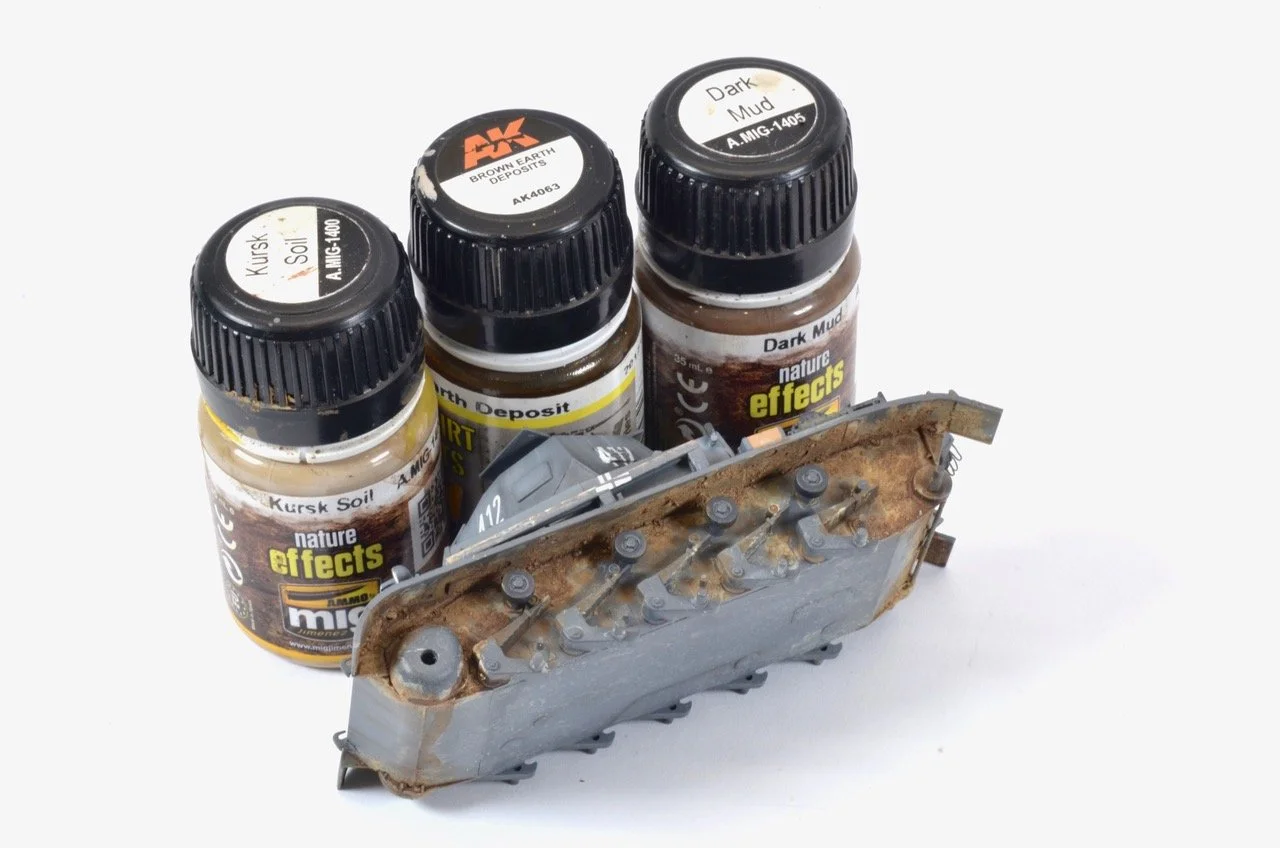
The muddy effect is then toned down and given a more realistic look by blending a mix of Earth colour enamel paints.
DSC_5518.jpeg
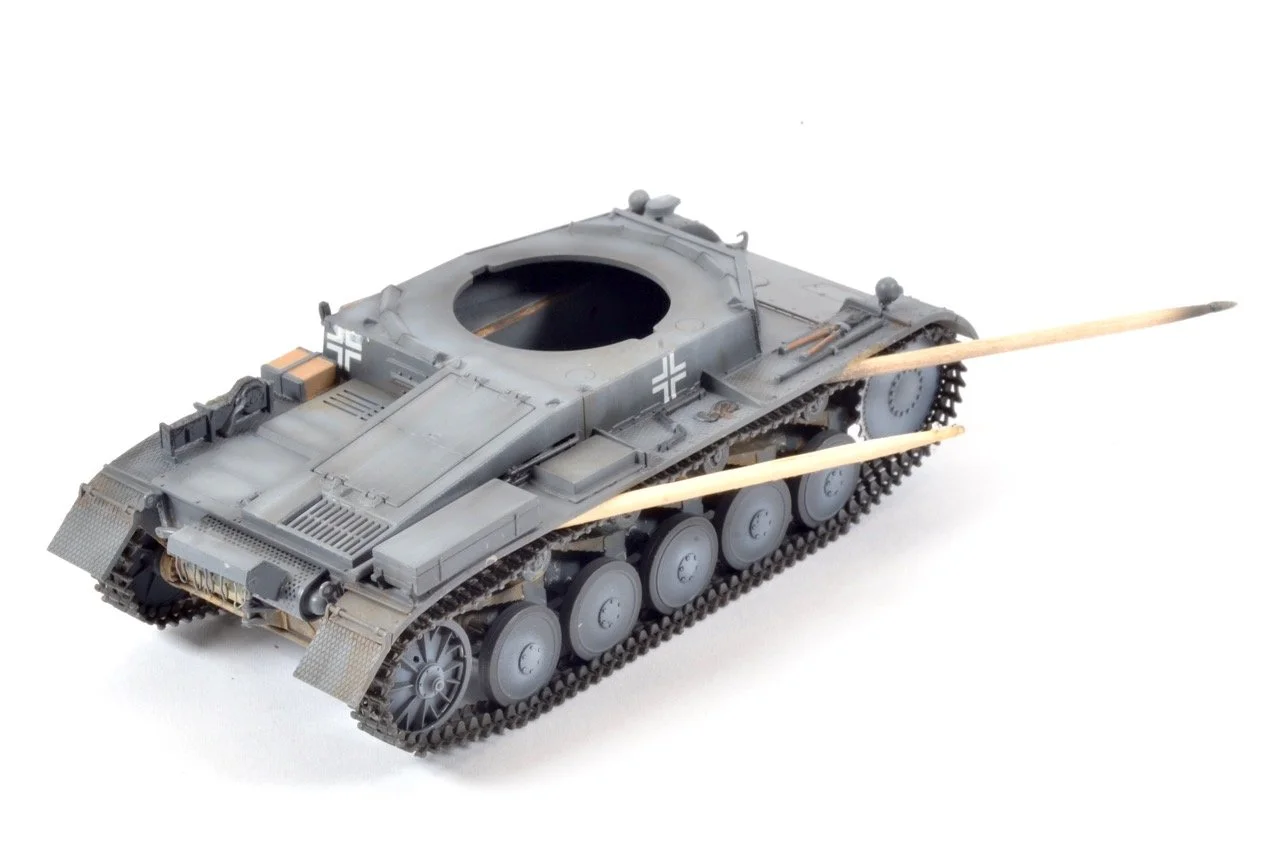
It was then time to reattach the running gear. The track section was attached using CA Glue to ensure a strong bond. Toothpicks were used as wedges to hold the part in place whilst the glue had time to set.
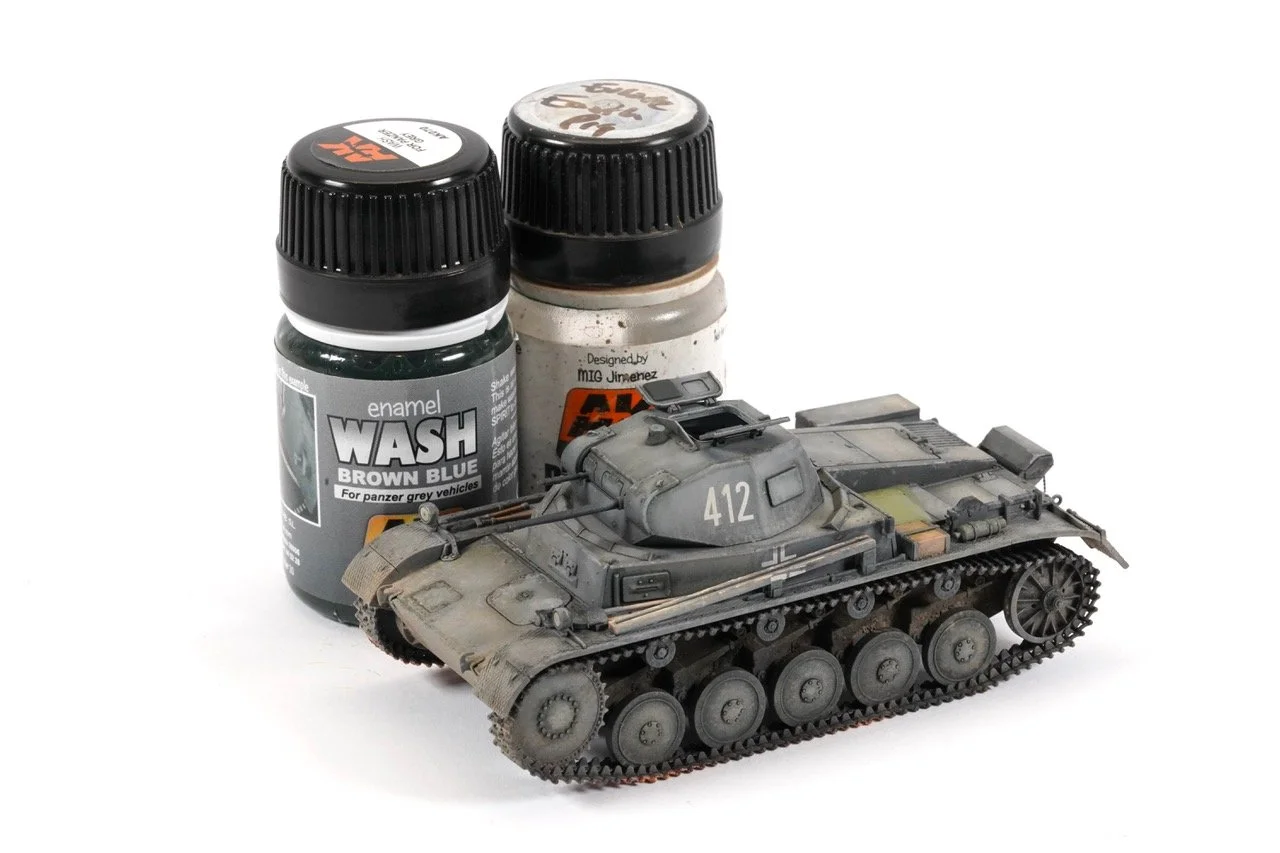
The model then received an all over pin wash using Starship Filth. This is a dirty Brown Grey colour and helps define the details and give the model an aged look.
DSC_5525.jpeg
The overall grey was looking a little bland. To add some interest to the finish, superficial chipping and scuffing was brush painted around hatches and areas of natural wear using a light grey acrylic paint and a fine brush. Black Brown was applied sparingly in some of the chips to simulate deeper chips where rust had begun to form.
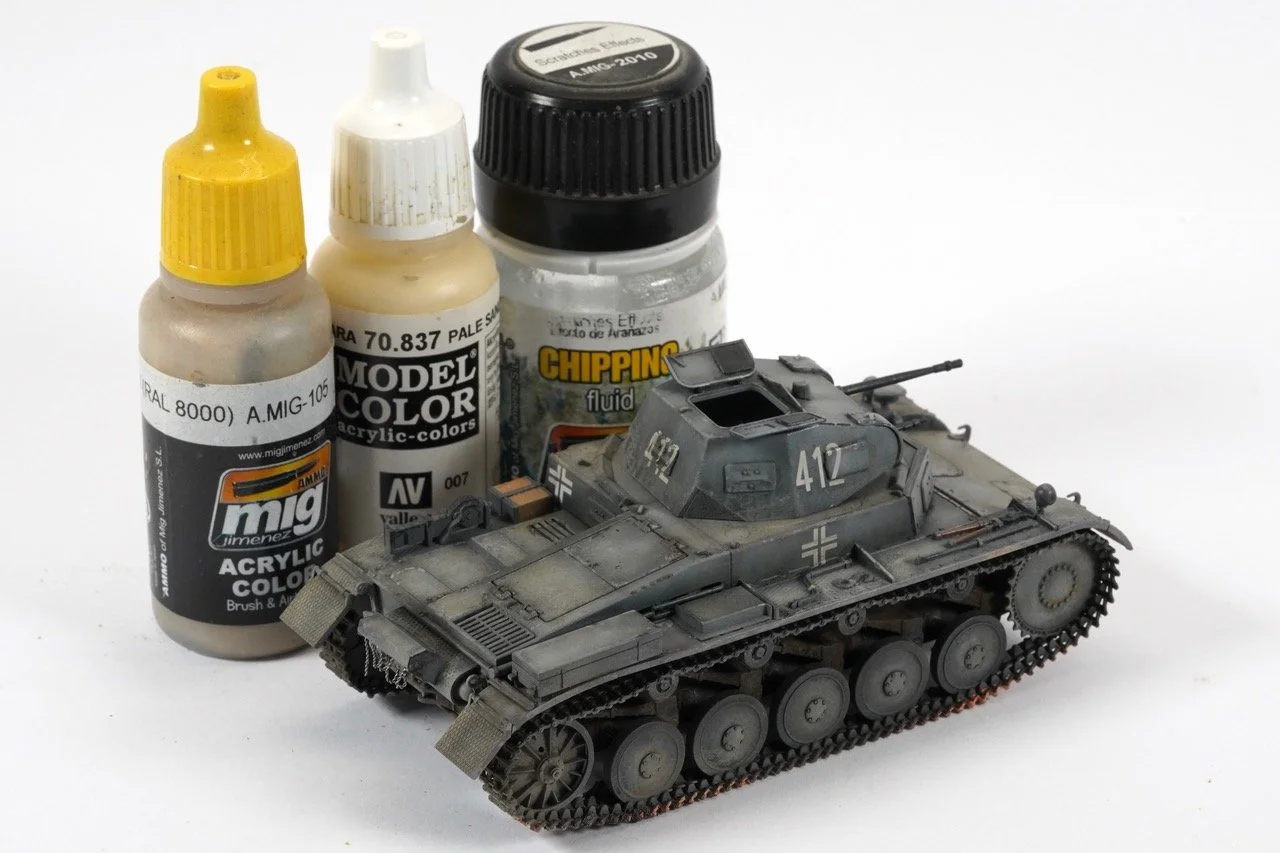
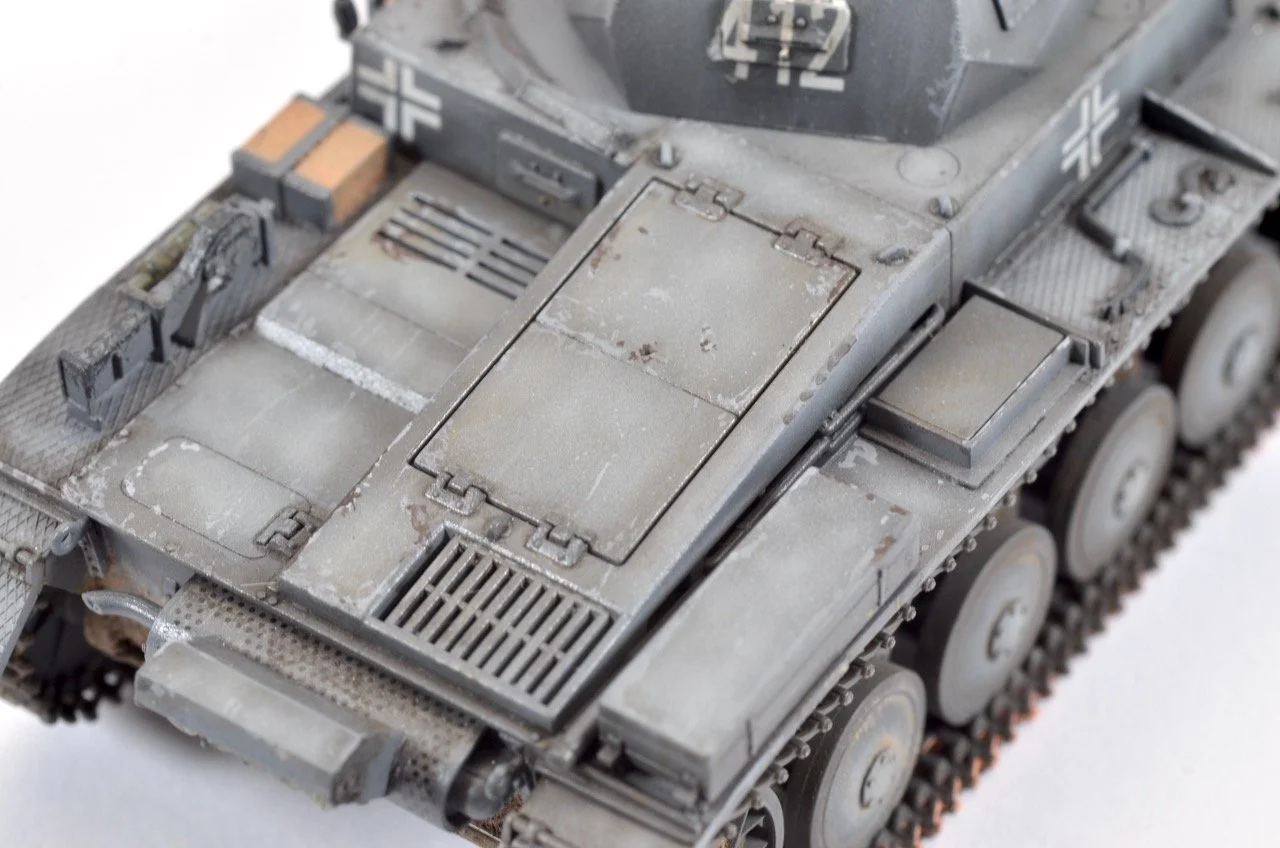
The German Grey base is perfect to apply a light dusty finish over. The initial layer was created by spraying 2 layers of chipping fluid over the entire model. A mix of Washable Dust and Pale Sand were then lightly sprayed in the logical places dust would settle on the vehicle. Horizontal areas and along the running gear.
The mix was then partially removed by carefully stippling a brush moistened with tap water on the surface. The effect is a dabbled, irregular dusty finish.
The final layer of weathering was achieved by firstly re-establishing some of the panel lines that got lost in the weathering process by using a selective enamel pin wash. The dusty look was further enhanced using dry pigment ground onto the surface of the model in logical places. Keeping the dust effect to the lower edges of the model and horizontal surfaces is key in achieving a realistic result.
Some fine speckling was also added using earth toned enamels.
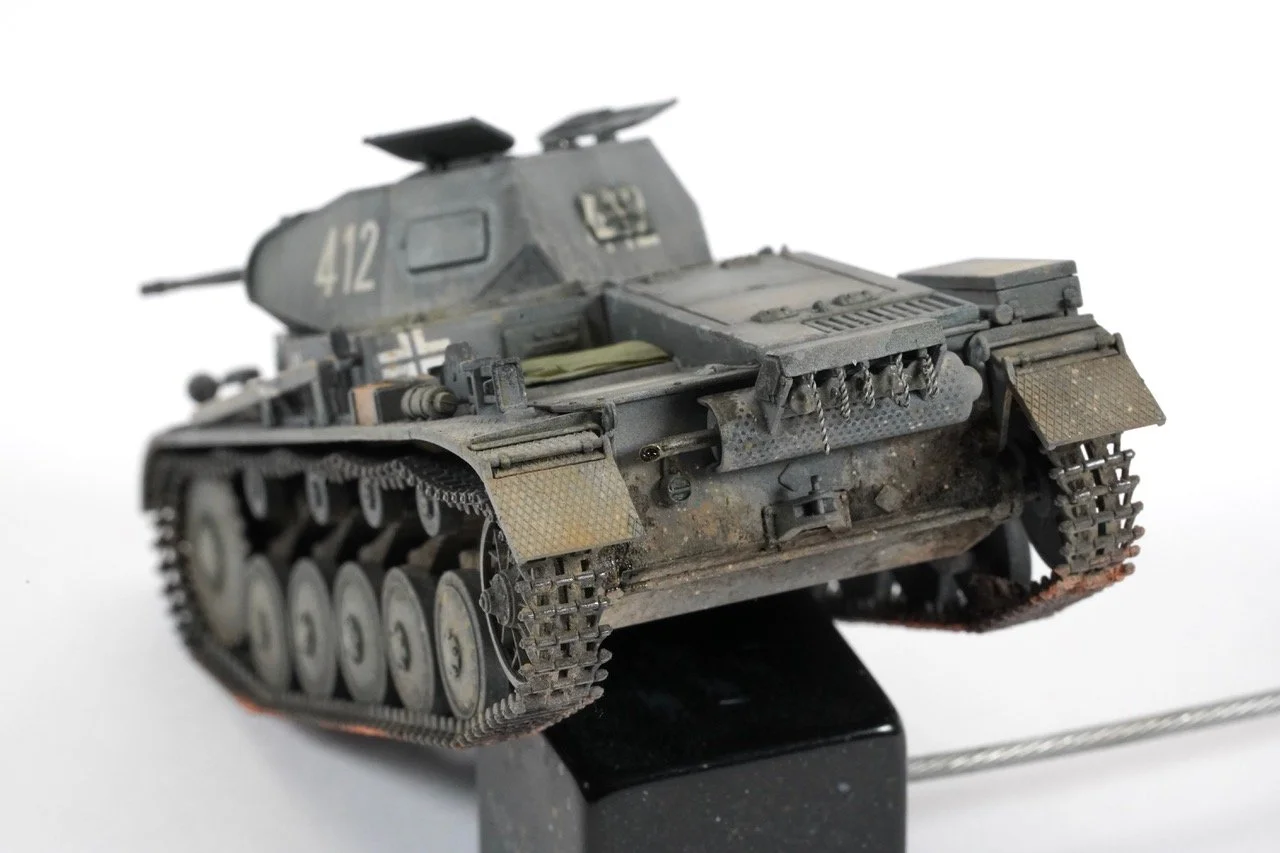
One detail that was bothering me was the lead wiring I’d added to the smoke discharges. It just didn’t look right…or at least it didn’t look like chain. I found that by twisting an even finer strand of lead wiring I was able to achieve something that looked a little more like chain, so the wiring was removed and replaced. I am glad I did it because the result was a lot better than my initial effort.
DSC_5466.JPG