Hawker Siddeley Harrier GR.3
The Harrier GR.3 was the mature Cold War evolution of Britain’s revolutionary jump jet concept. It was not the first Harrier, but it was the version that proved the aircraft’s real combat credibility.
To understand the GR.3, you have to start with the earlier GR.1. Developed by Hawker Siddeley from the experimental P.1127 and Kestrel programmes, the Harrier entered RAF service in 1969 as the world’s first operational V/STOL strike aircraft. The idea was radical: instead of relying on long, vulnerable runways, the aircraft could disperse to forward sites, hide in woodland, and operate from rough strips close to the front line.
The GR.3, introduced in the early 1970s, refined that concept.


FULL BUILD / PAINTING AND WEATHERING SERIES available on my You Tube Channel!
Why the GR.3 Matters
The GR.3 represents the moment the Harrier transitioned from experimental novelty to proven warplane.
It bridged the gap between the early jump jets and the later second-generation Harrier IIs developed by British Aerospace and McDonnell Douglas.
For modellers, it offers:
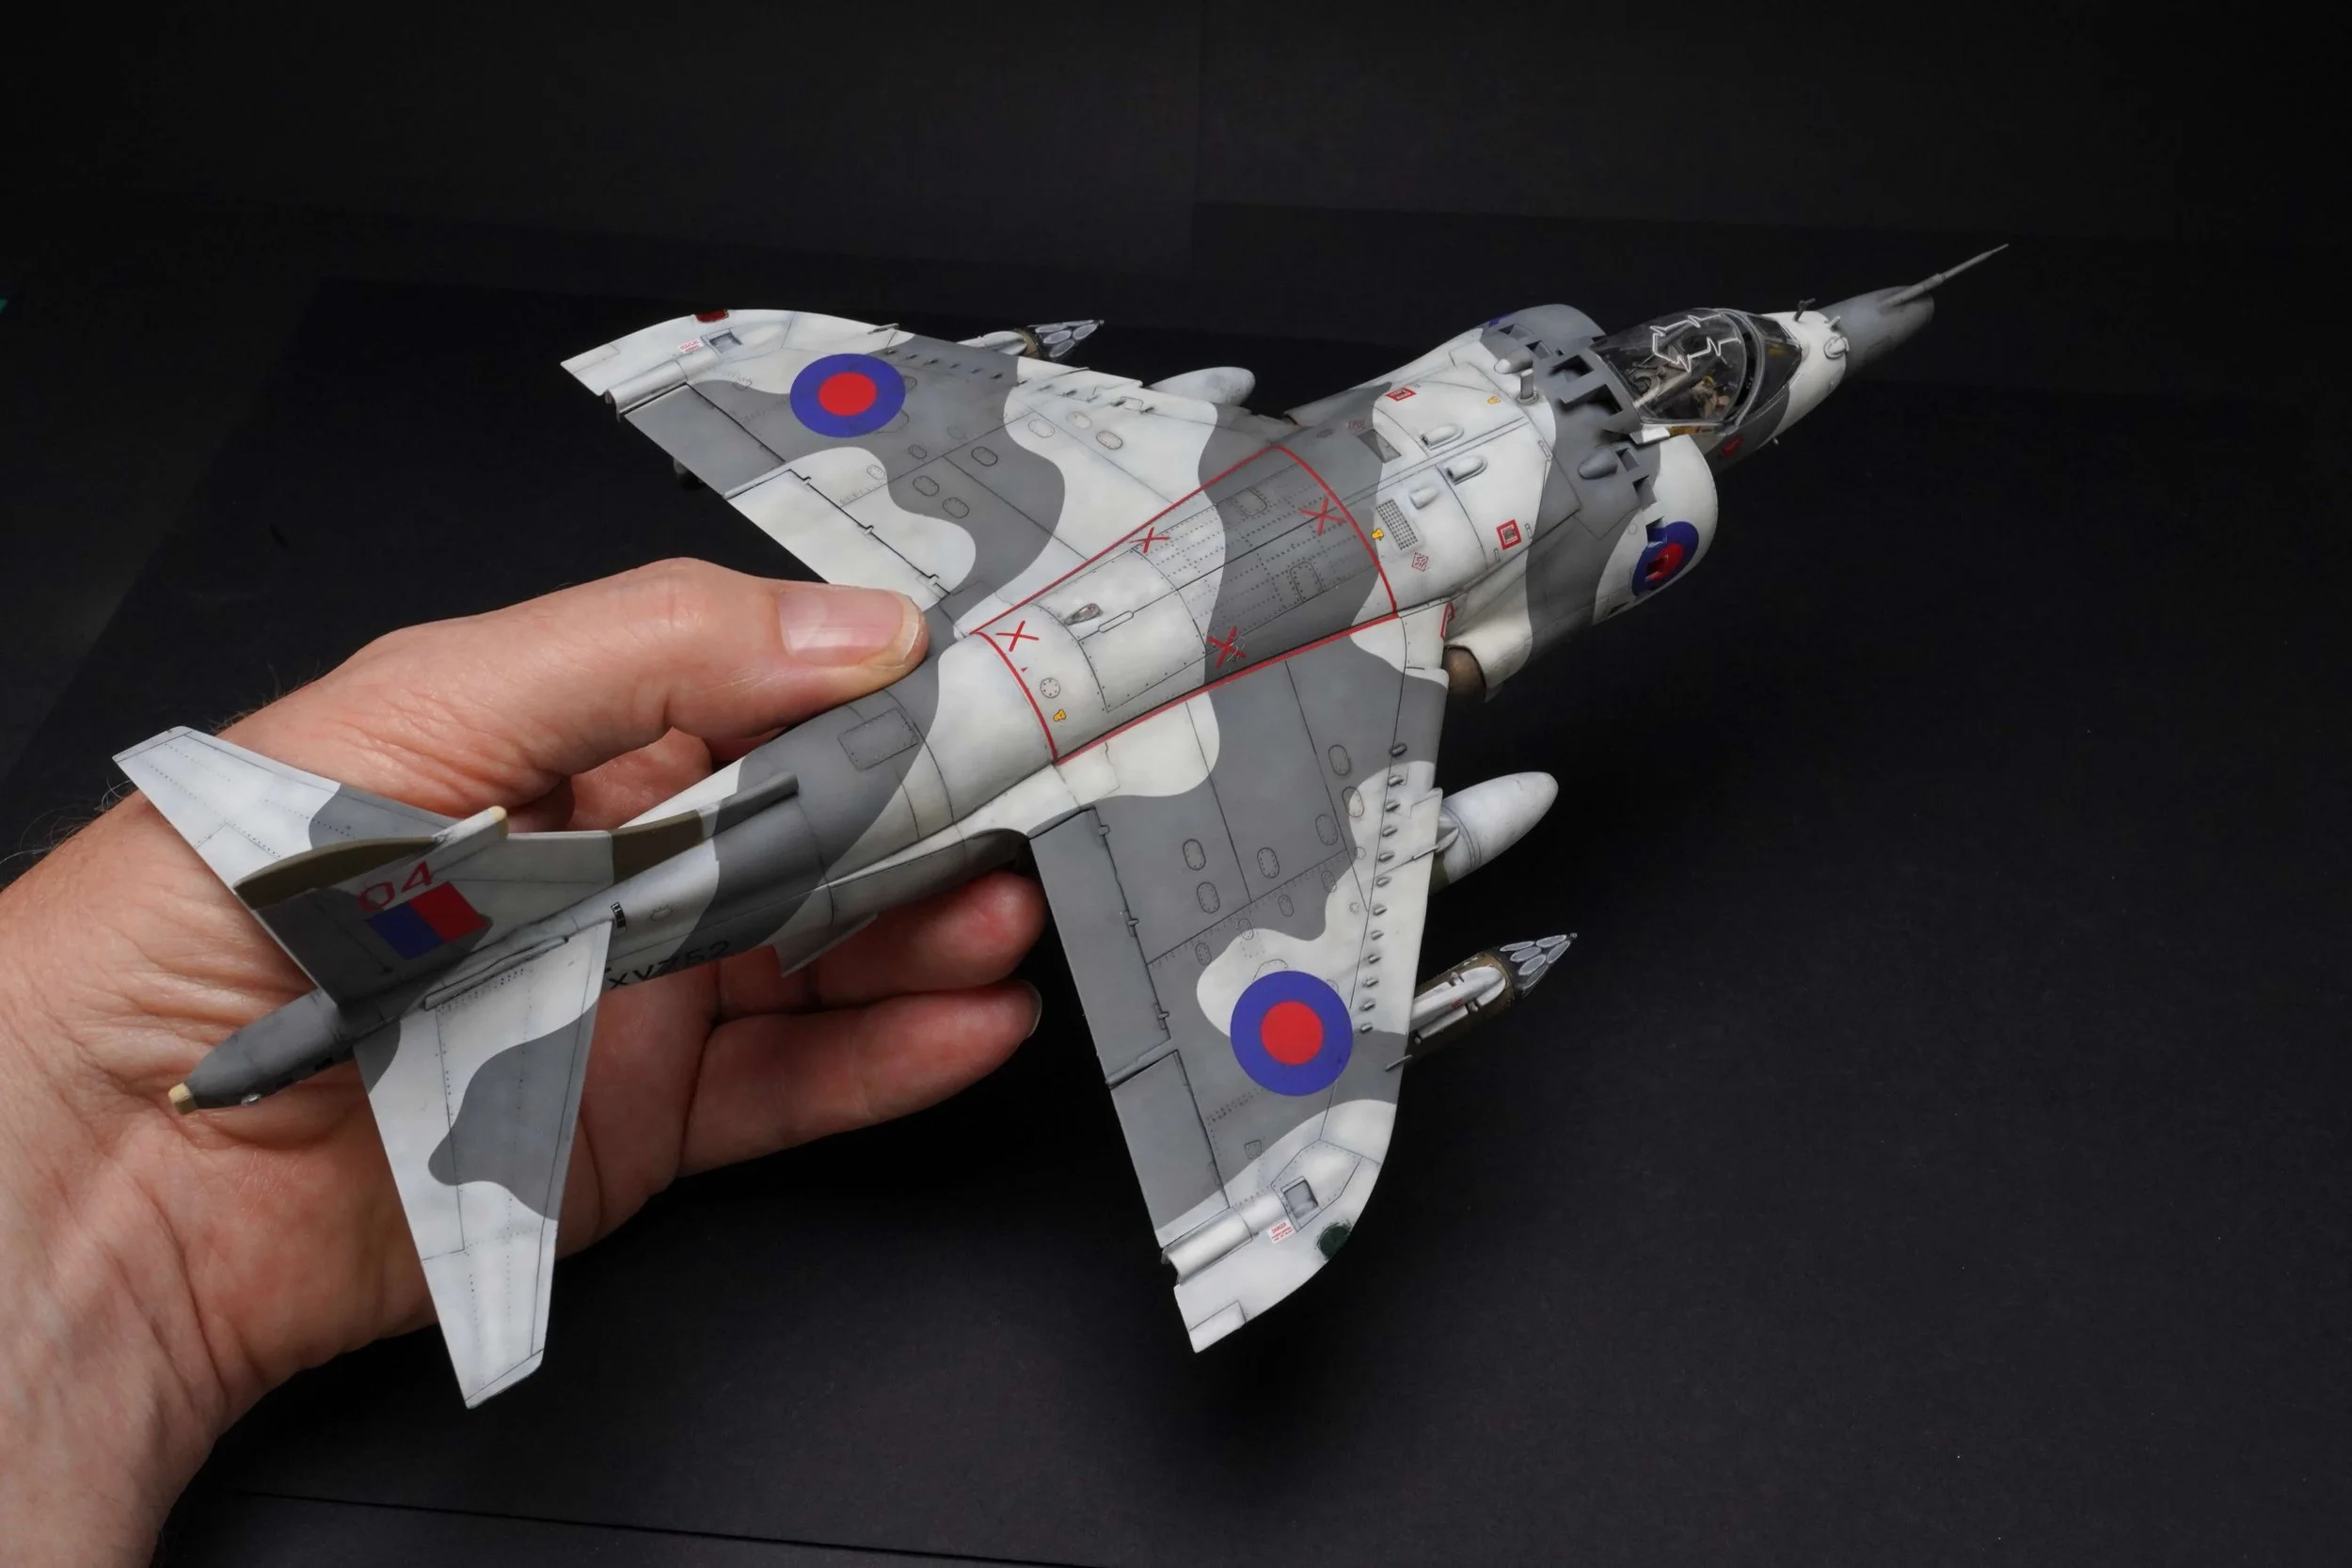
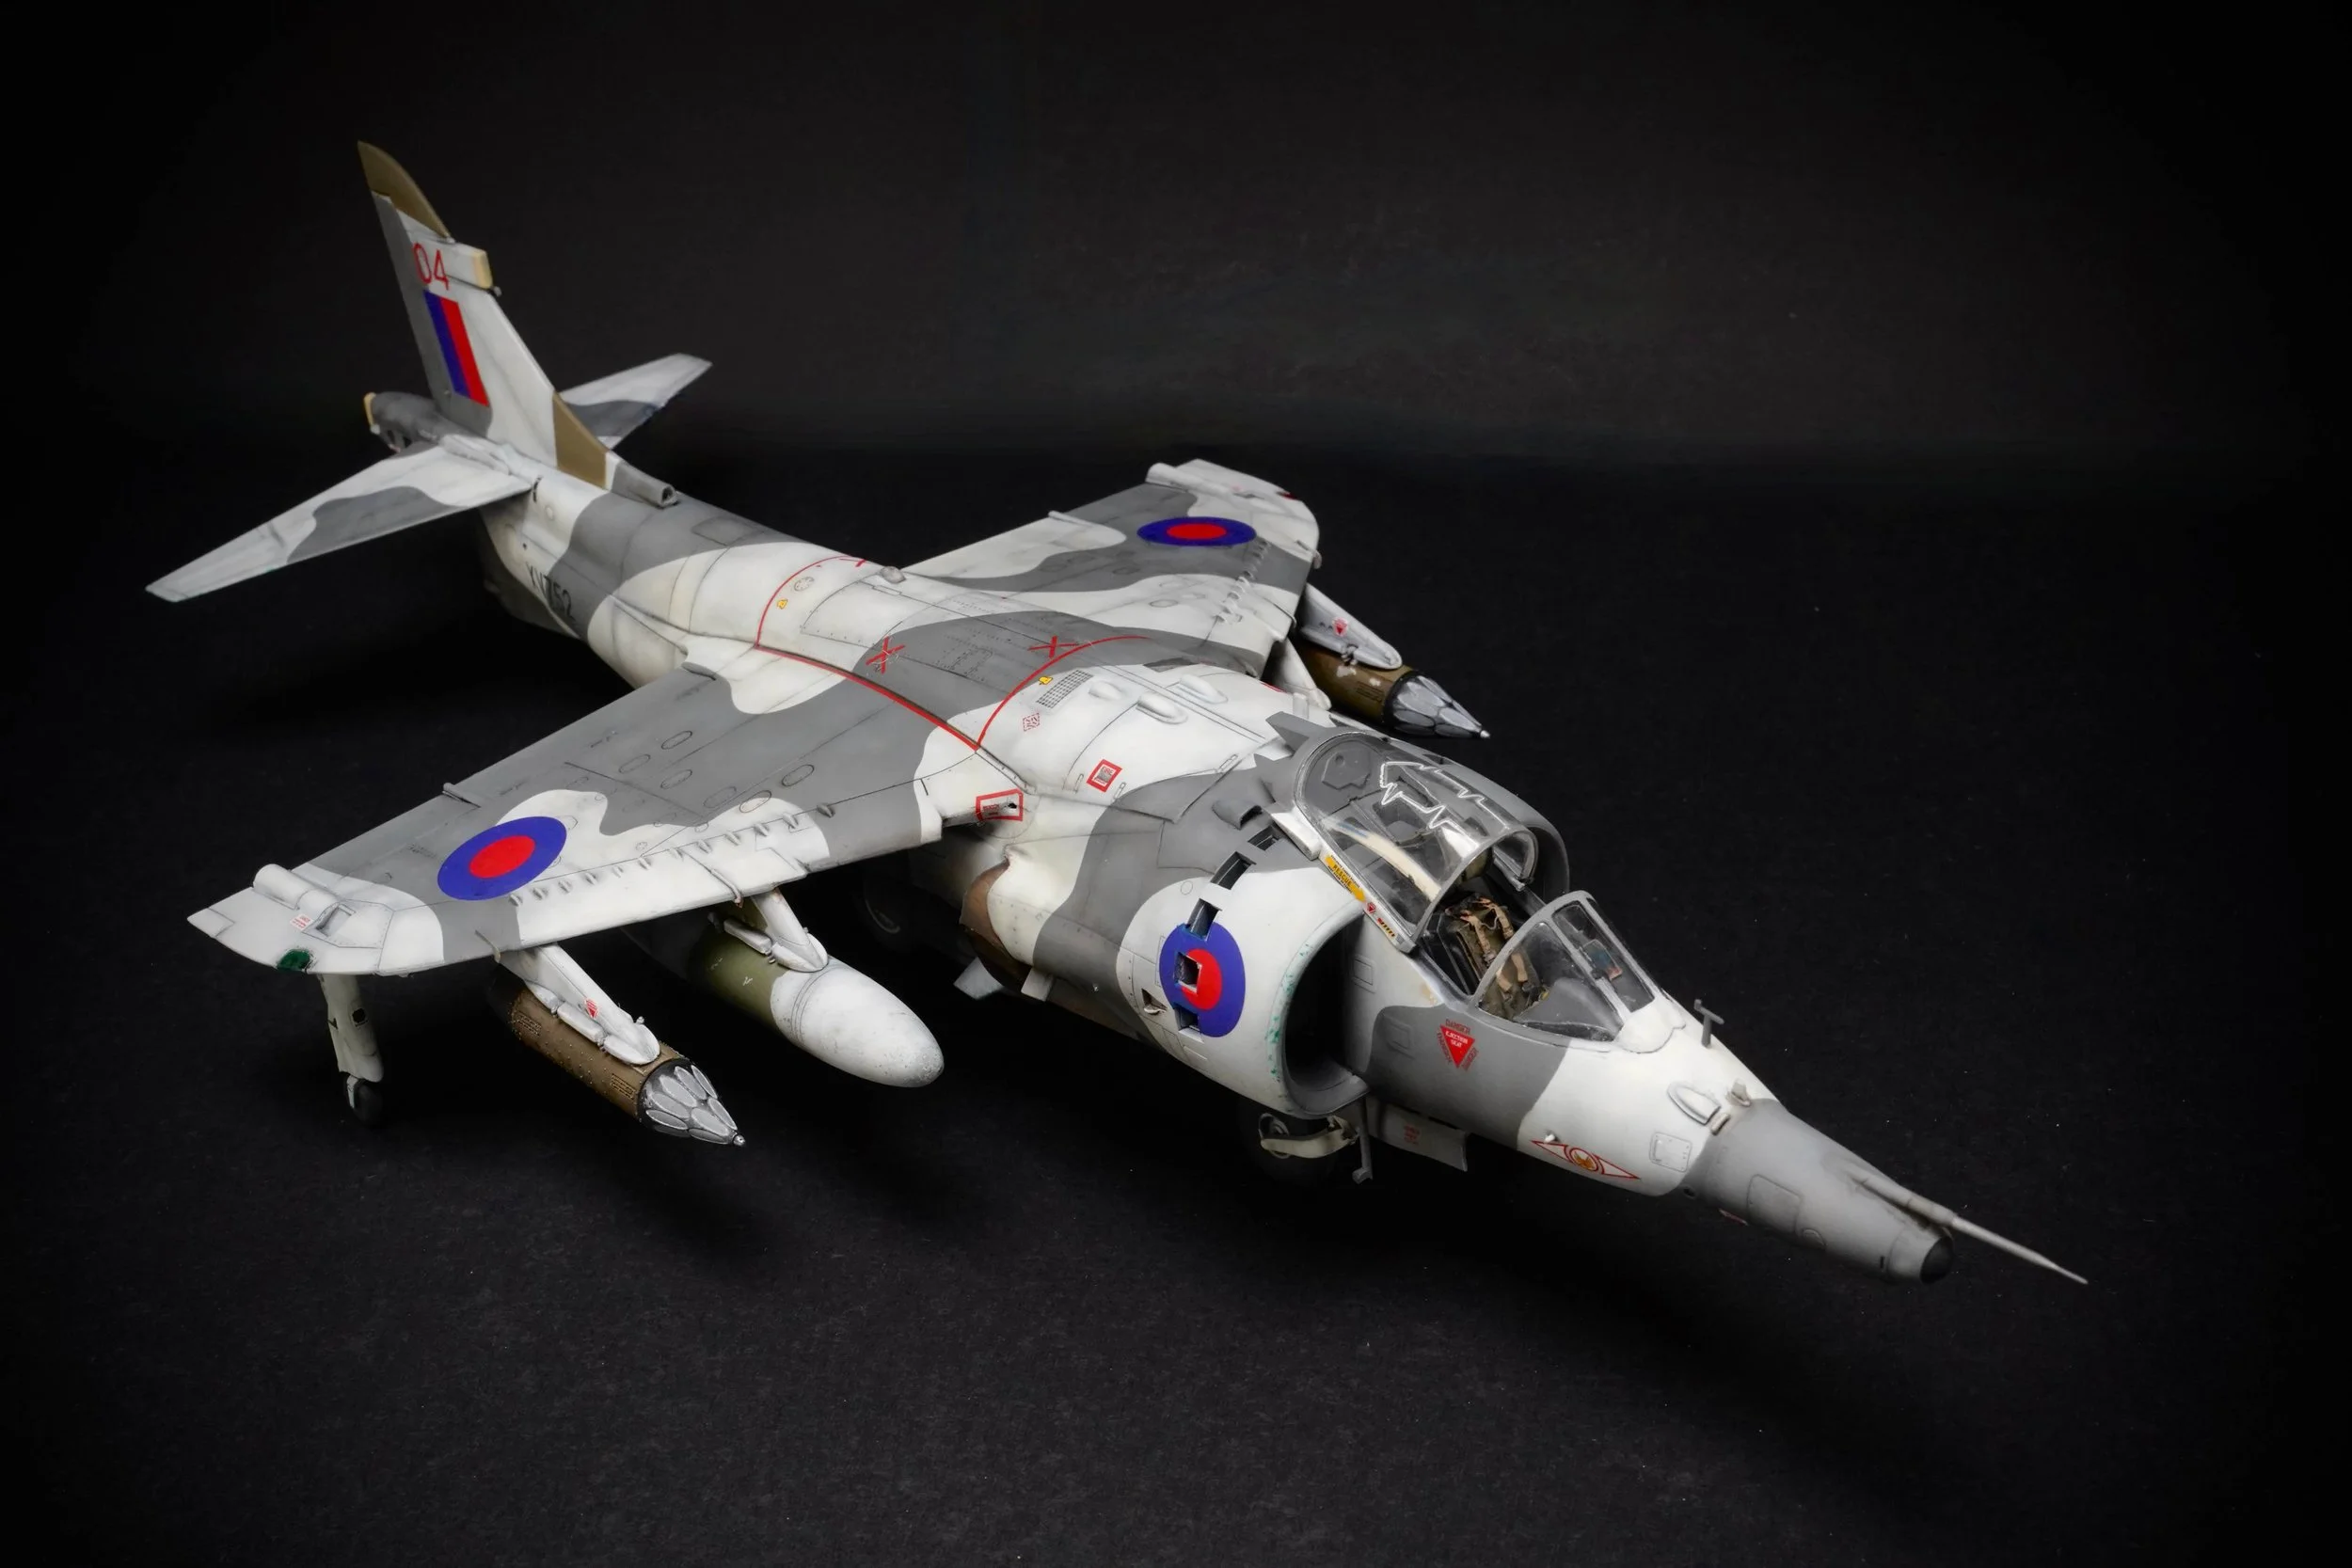
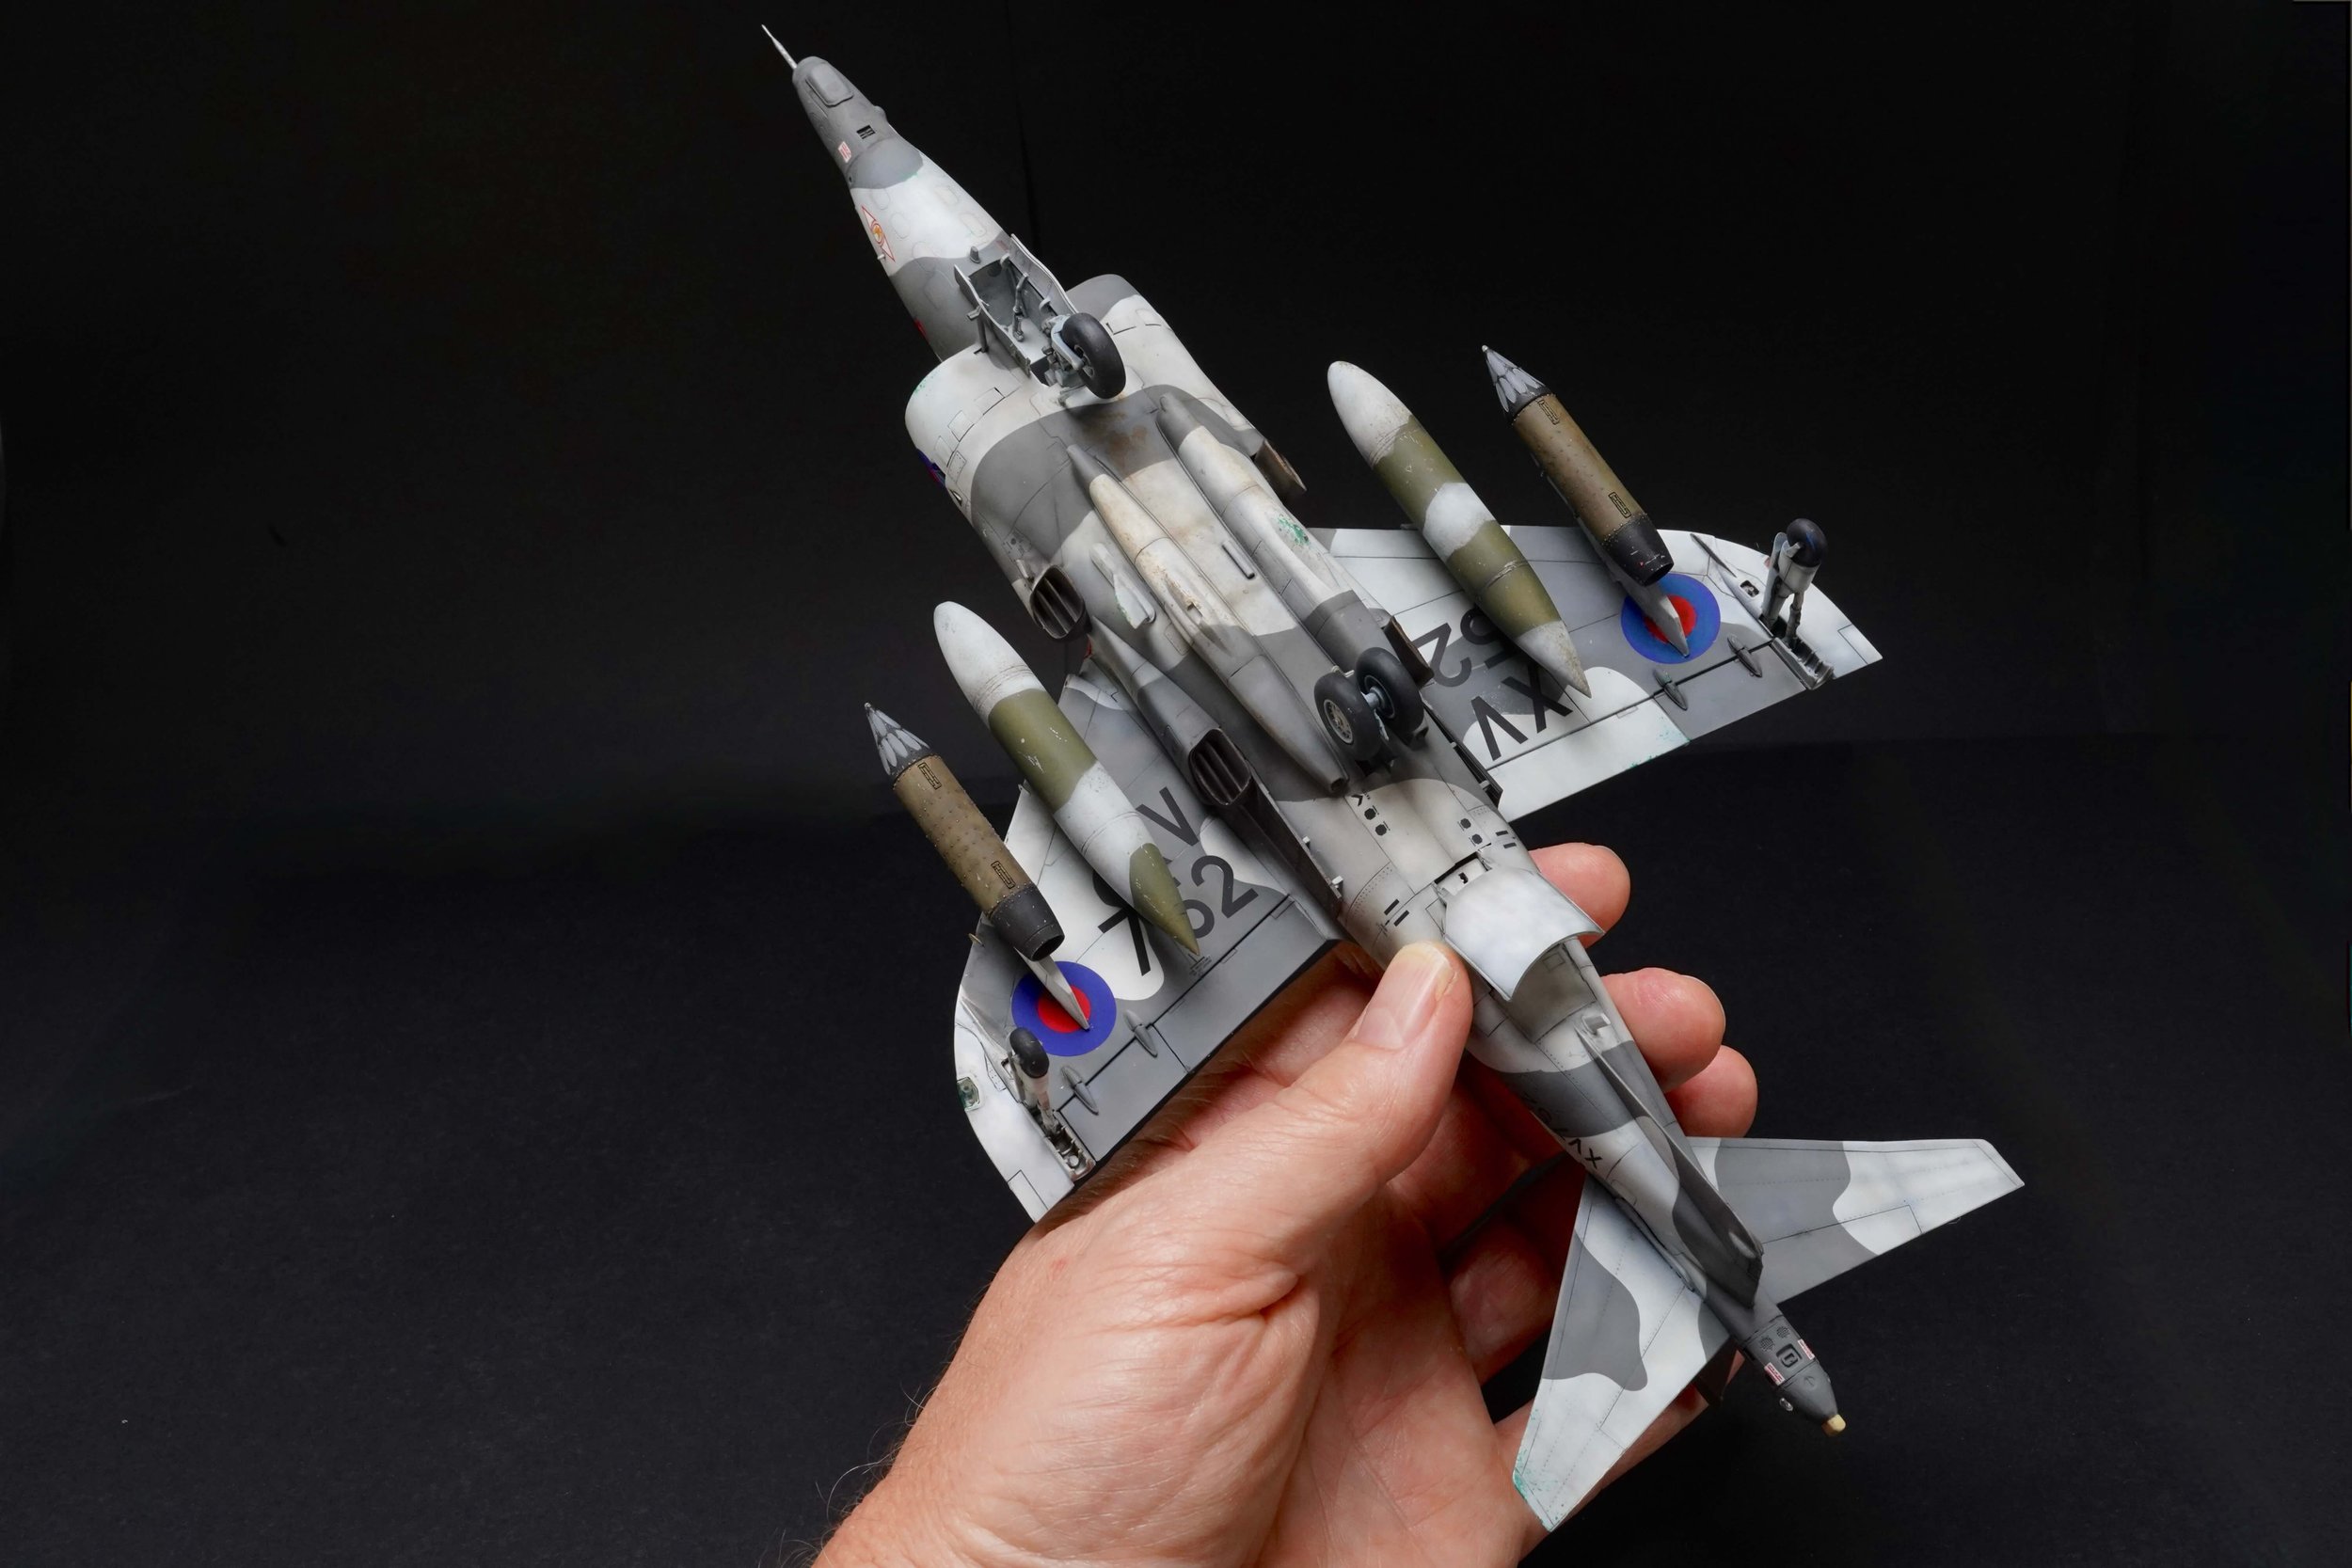
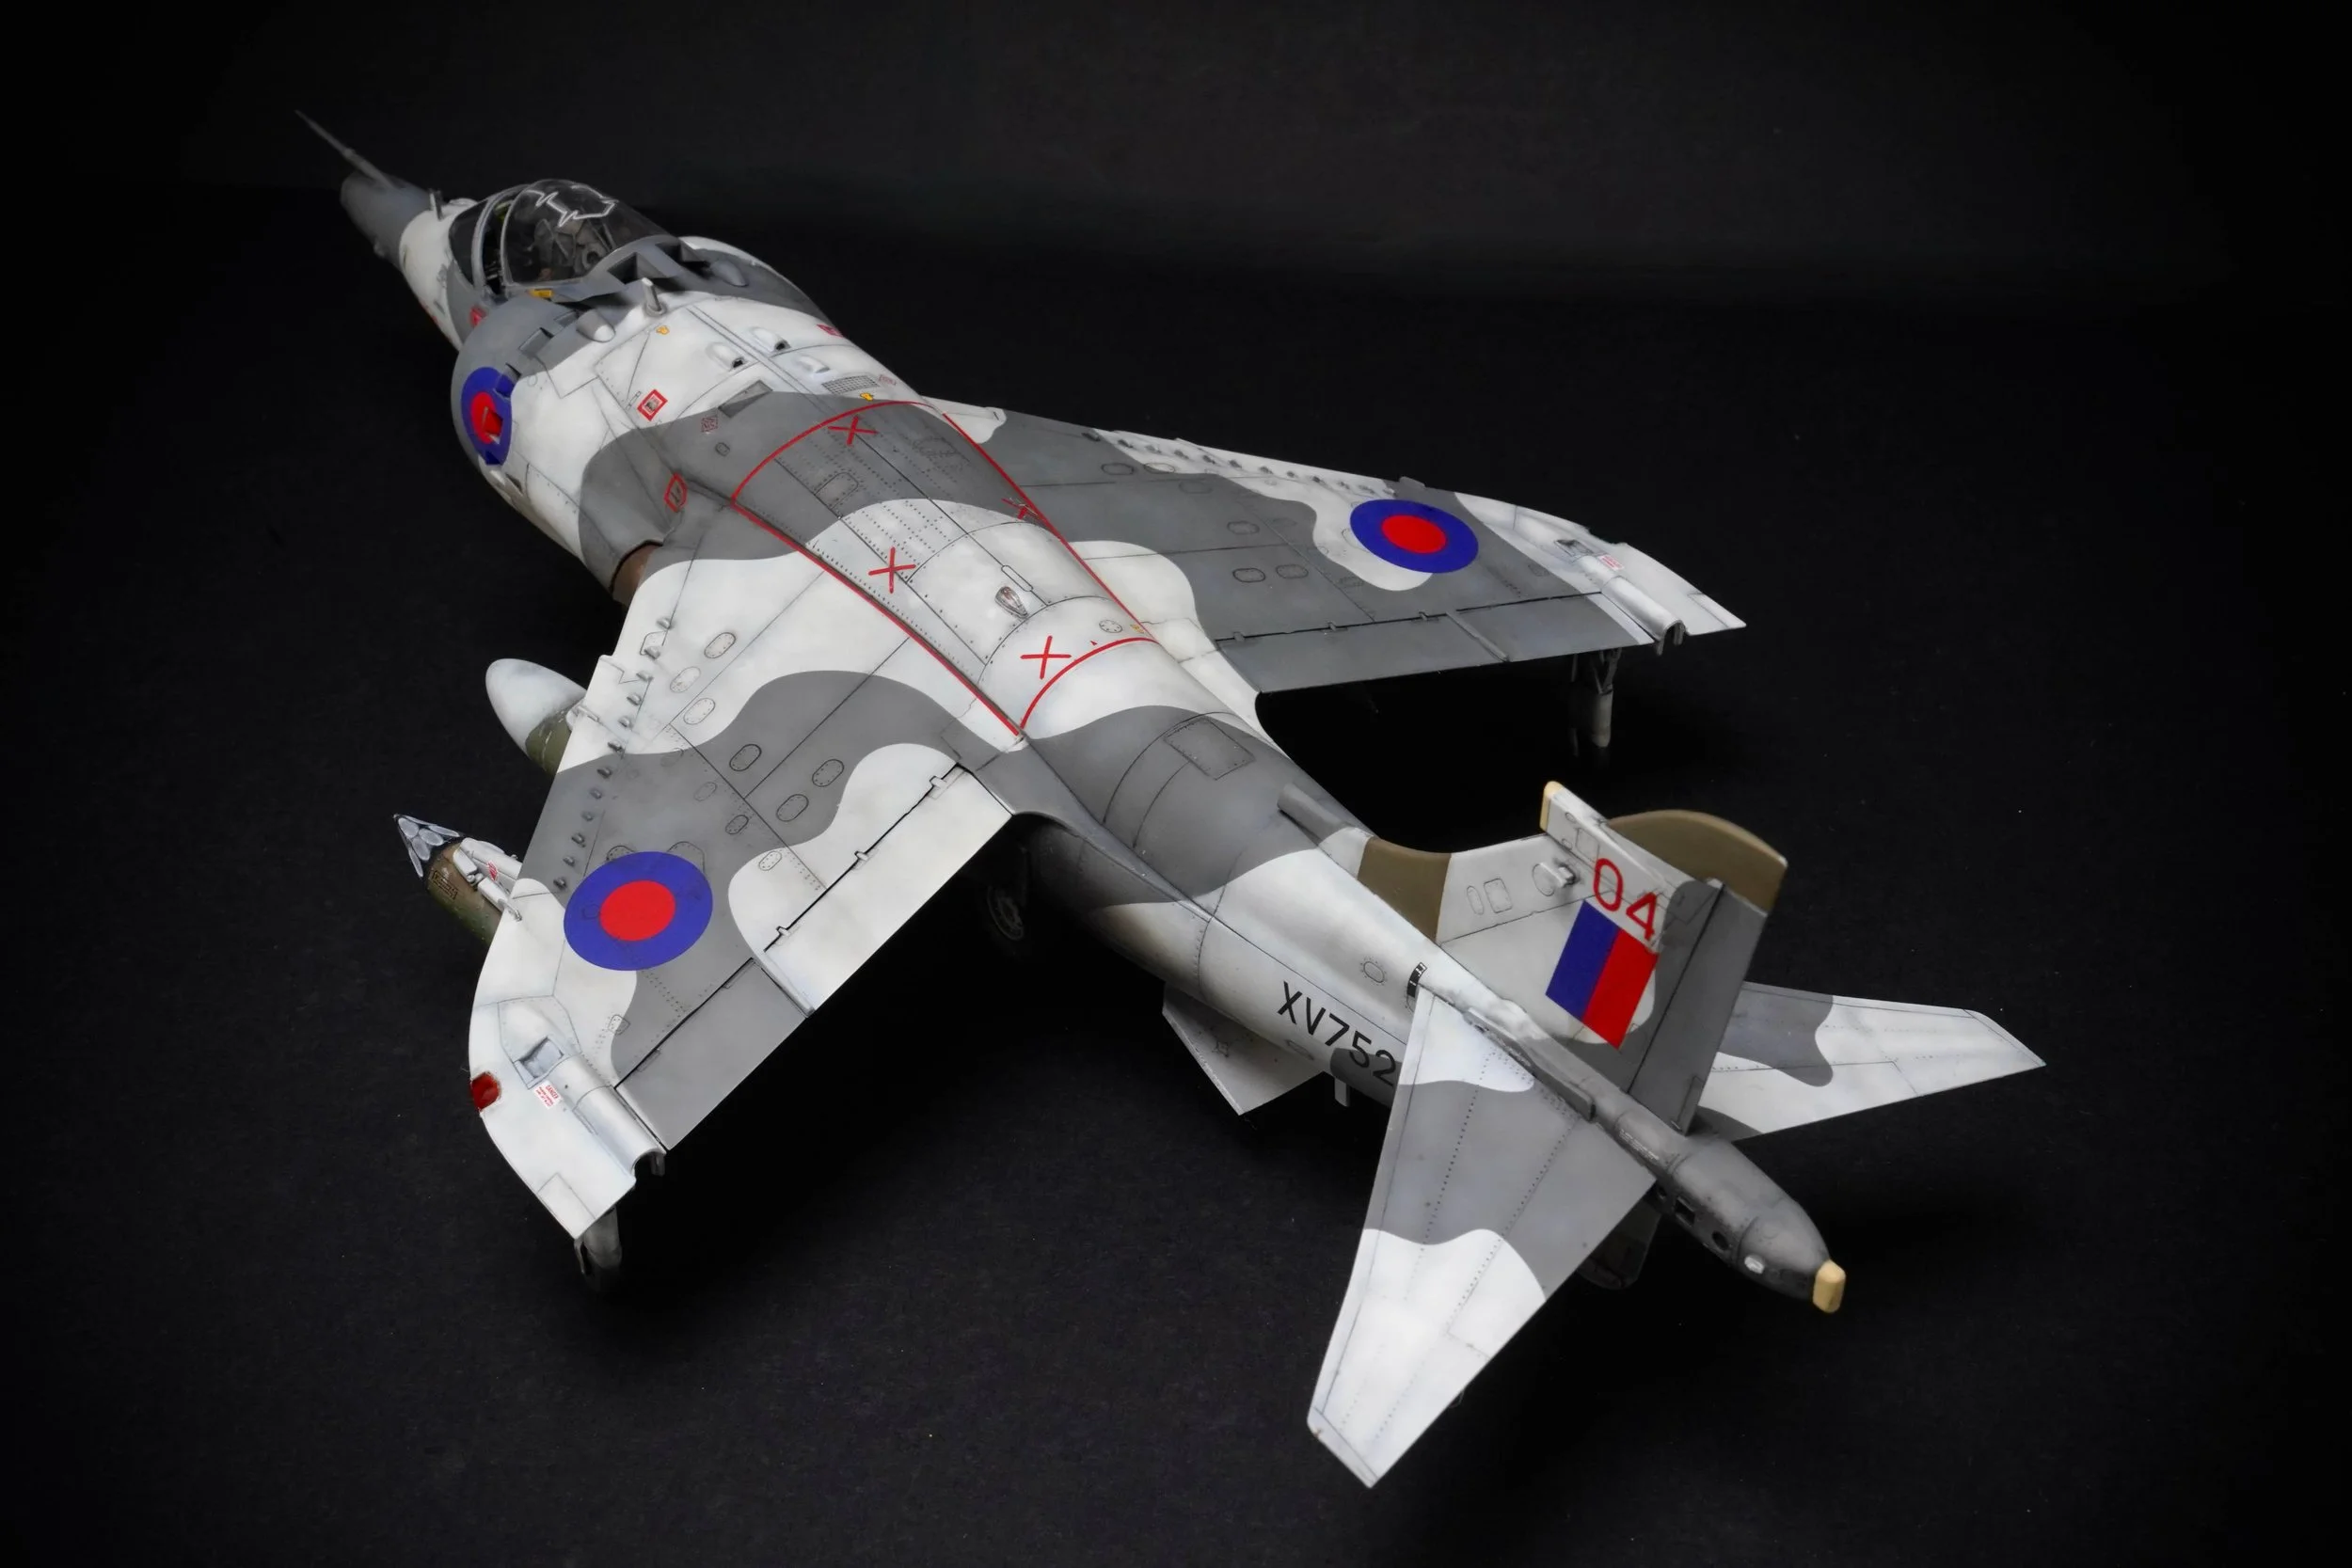
Distinctive nose profile
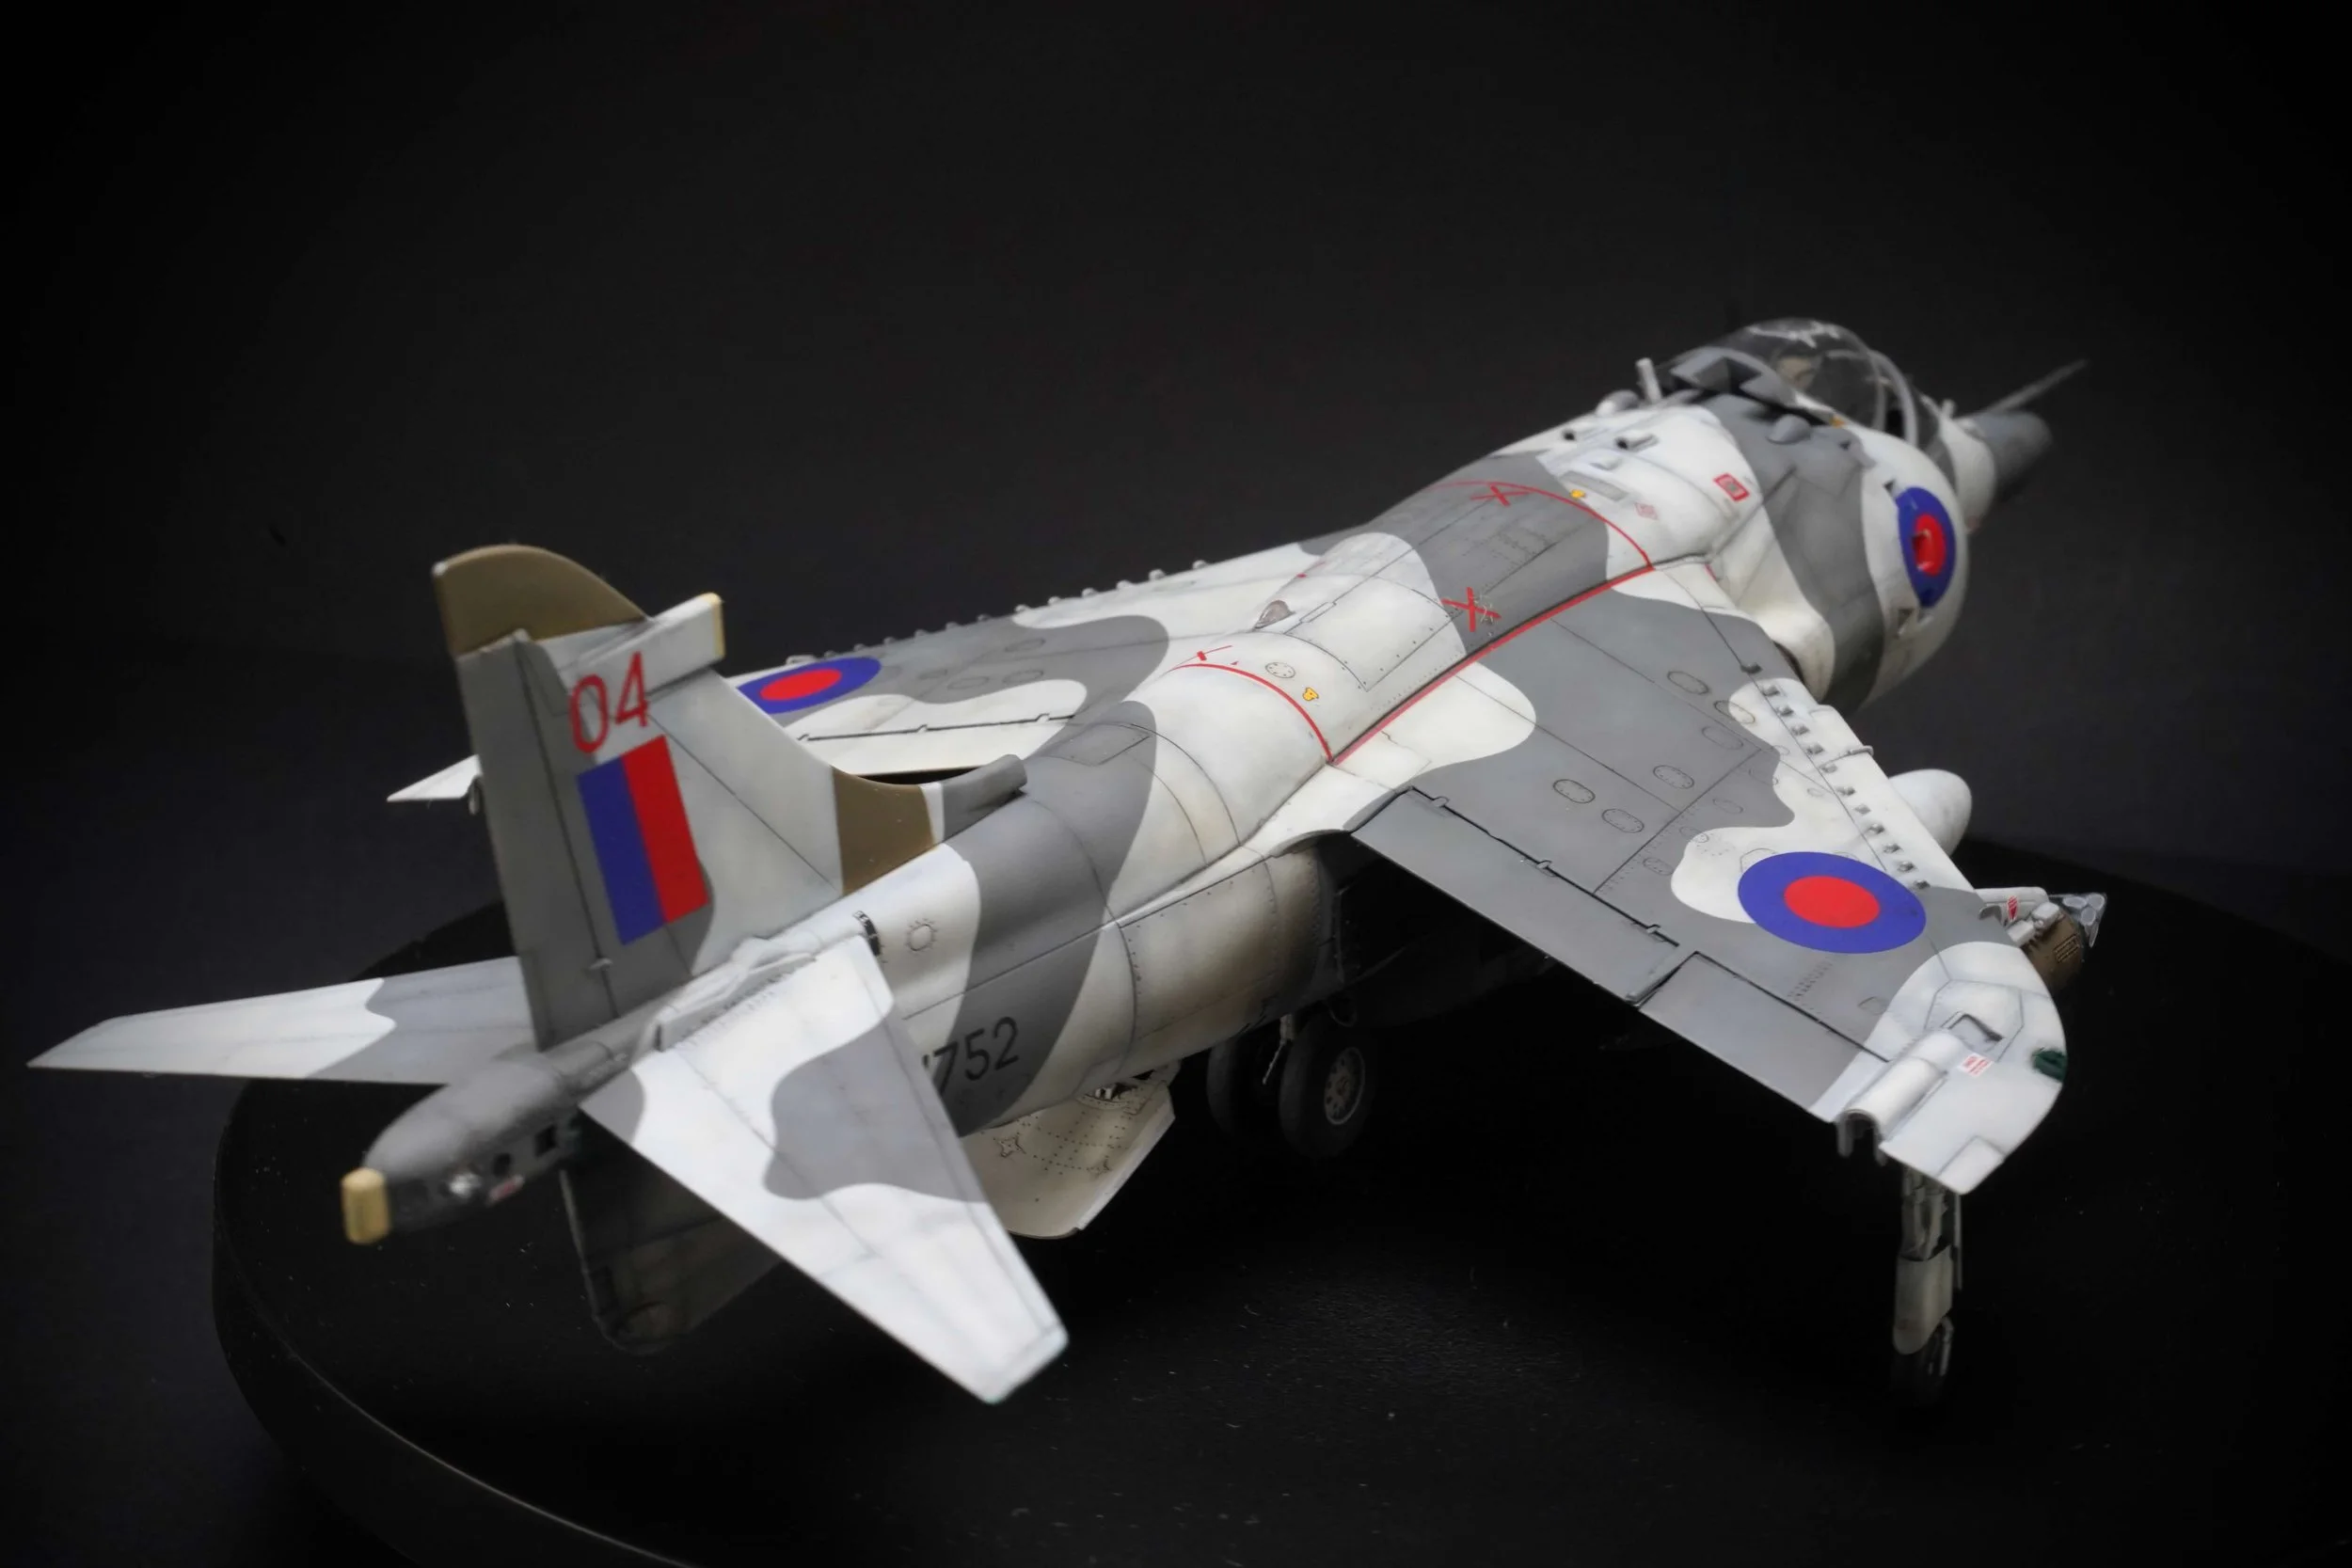
Classic RAF Germany camouflage
Falklands-era weathered schemes
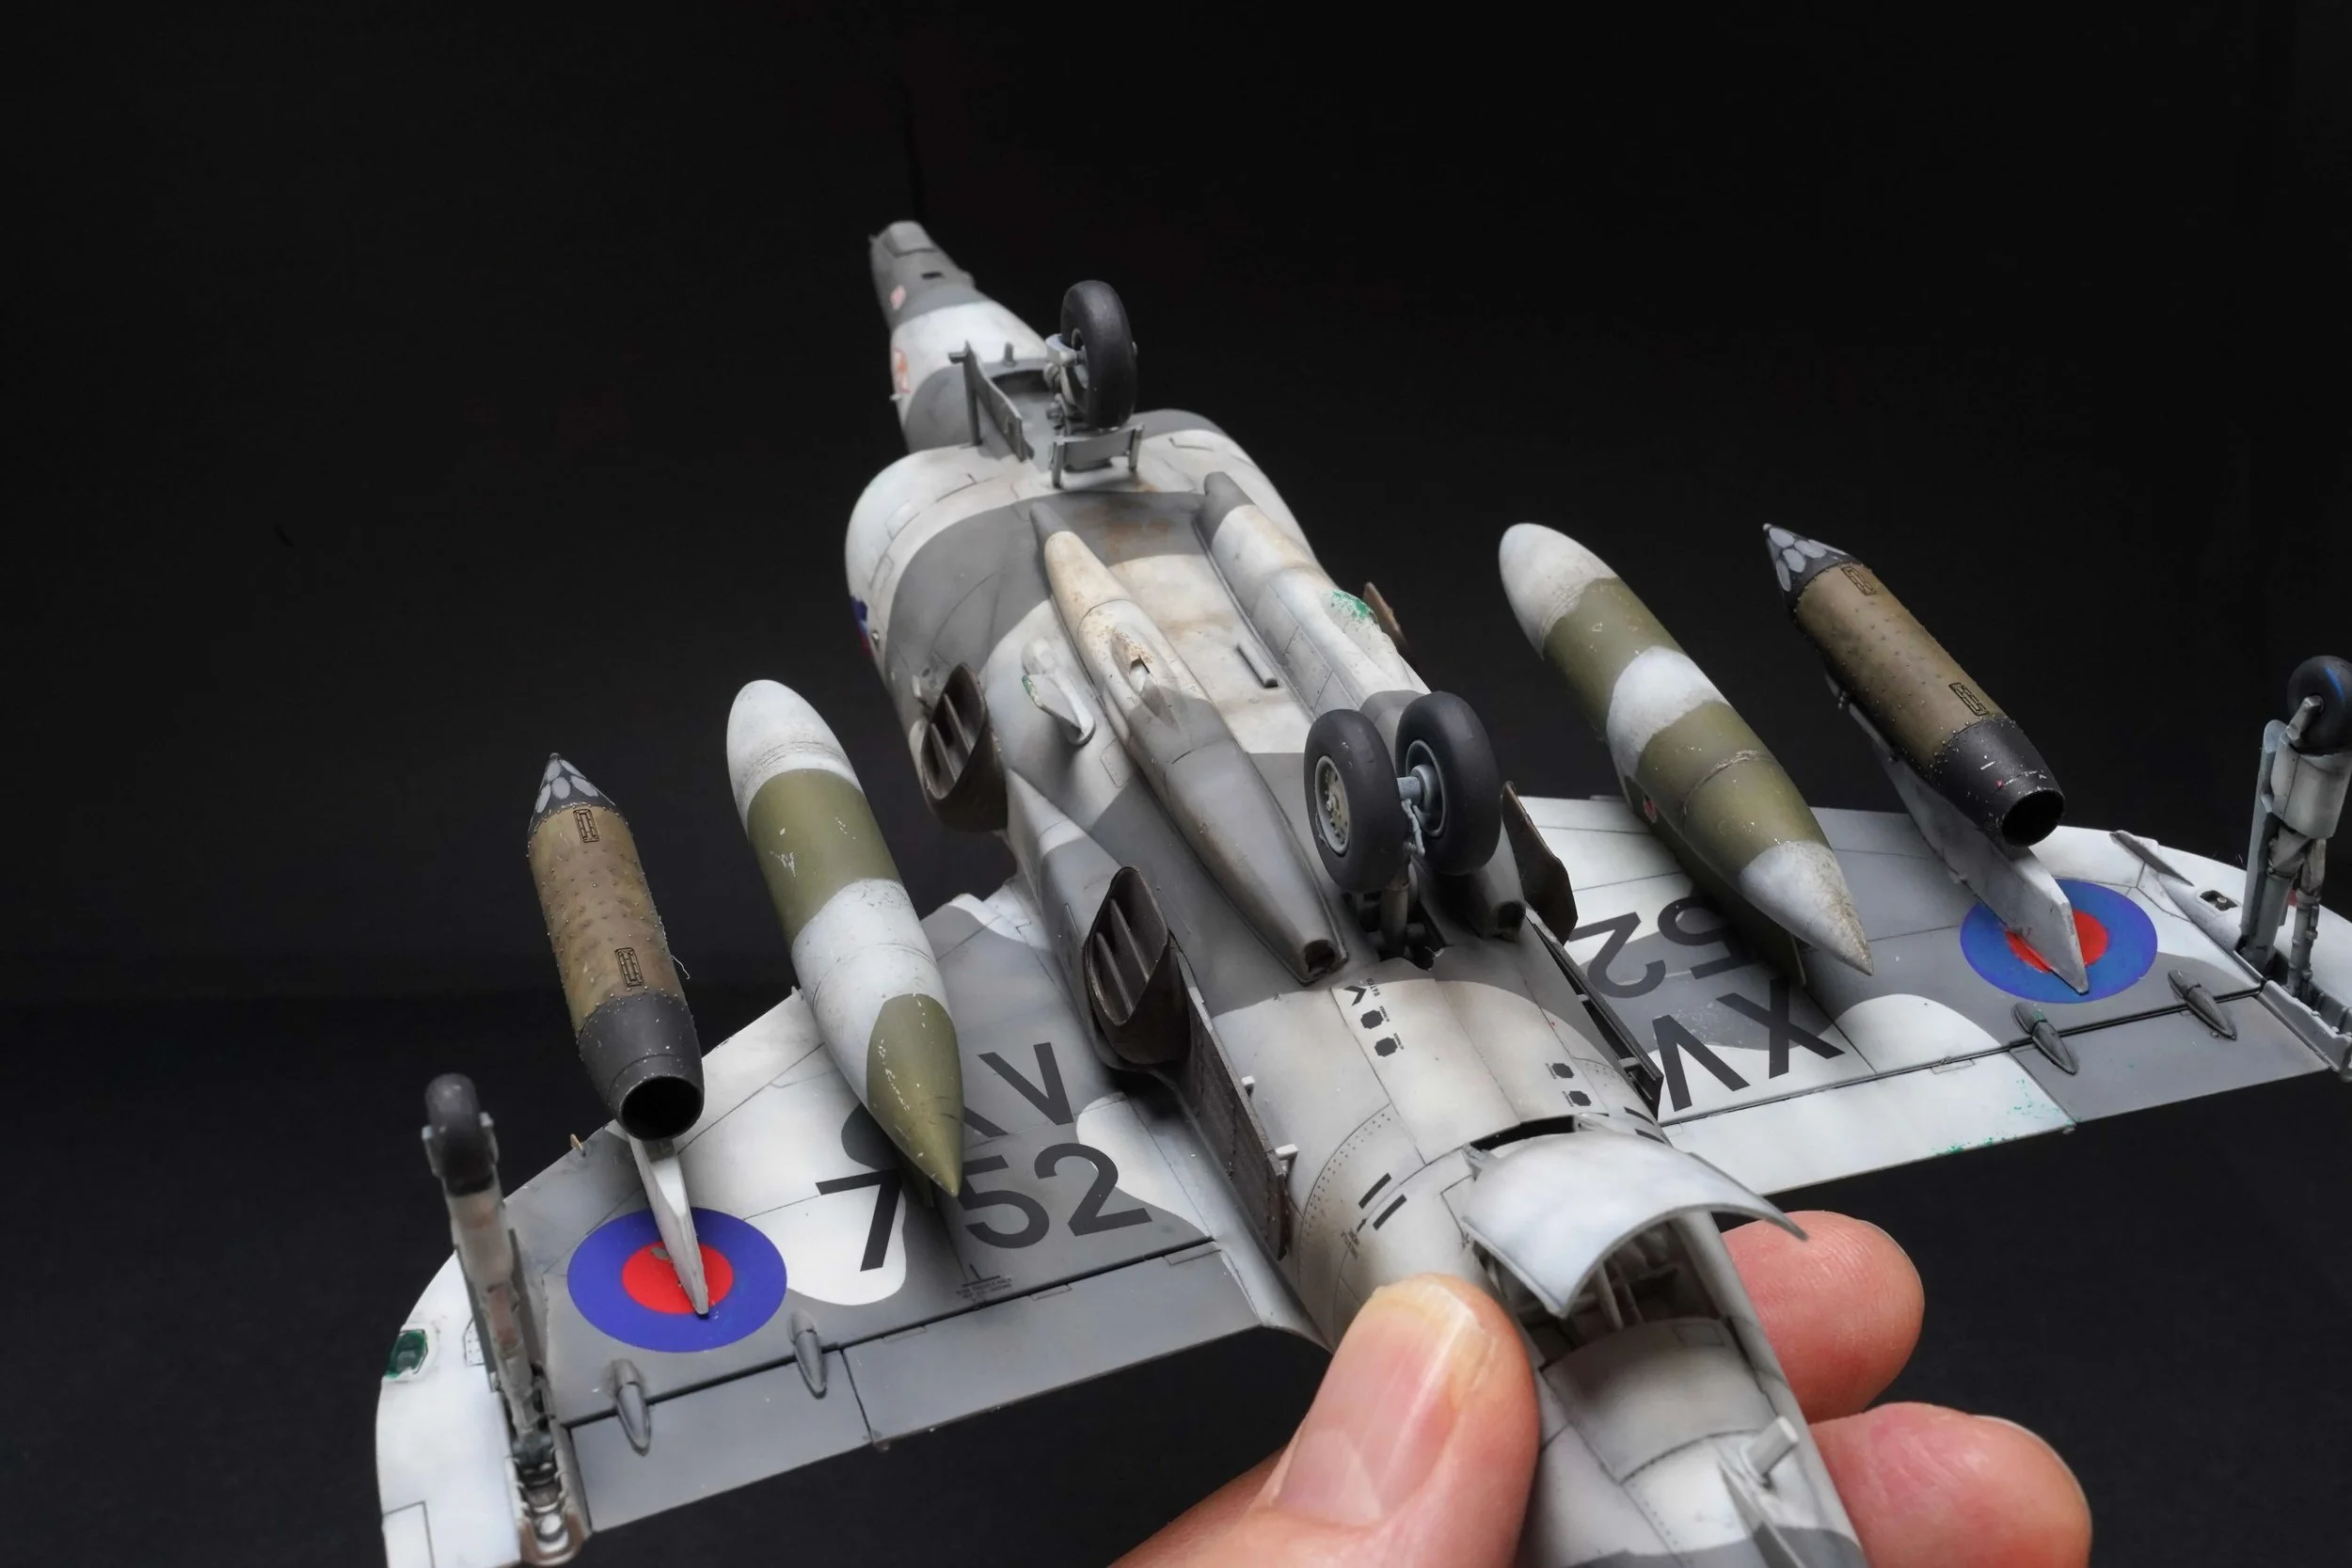
Interesting ordnance options
A proper Cold War story with combat pedigree
It is very much a product of Britain’s Cold War doctrine — rugged, adaptable, slightly unconventional, but operationally effective.
What Made the GR.3 Different?
The GR.3 was externally similar to the GR.1, but it incorporated several significant upgrades:
A more powerful version of the Rolls-Royce Pegasus engine
Improved avionics and navigation systems
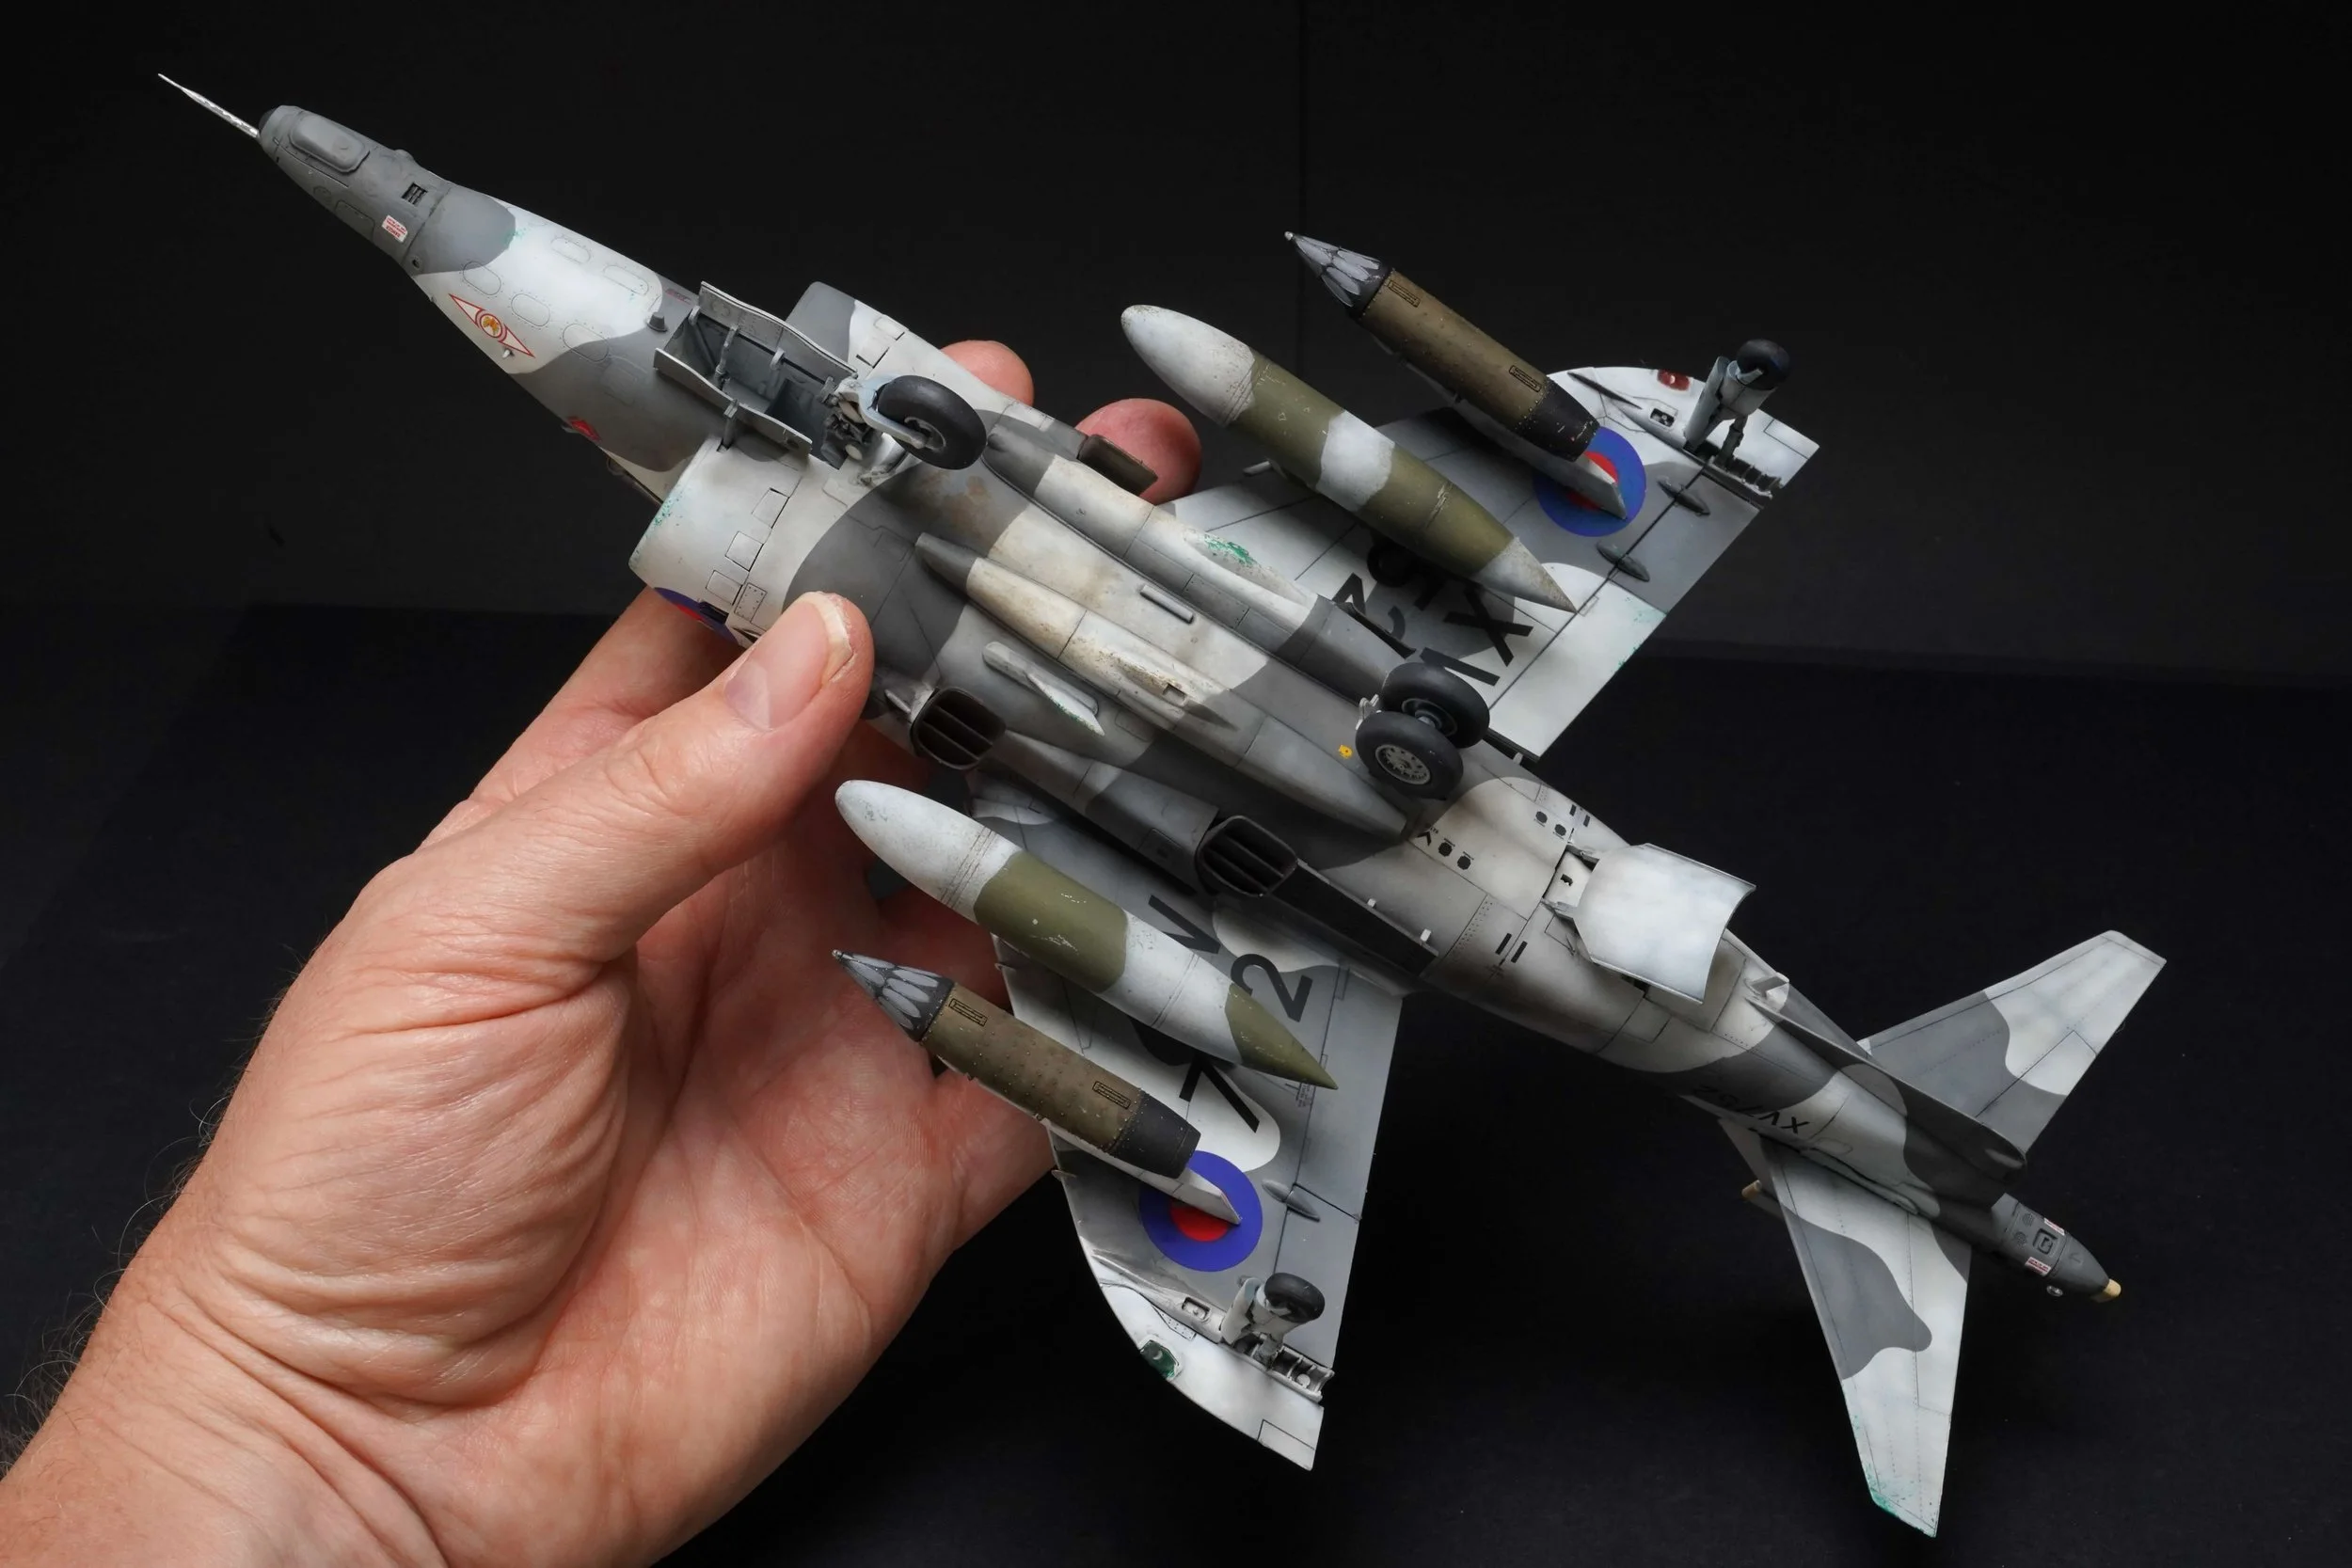
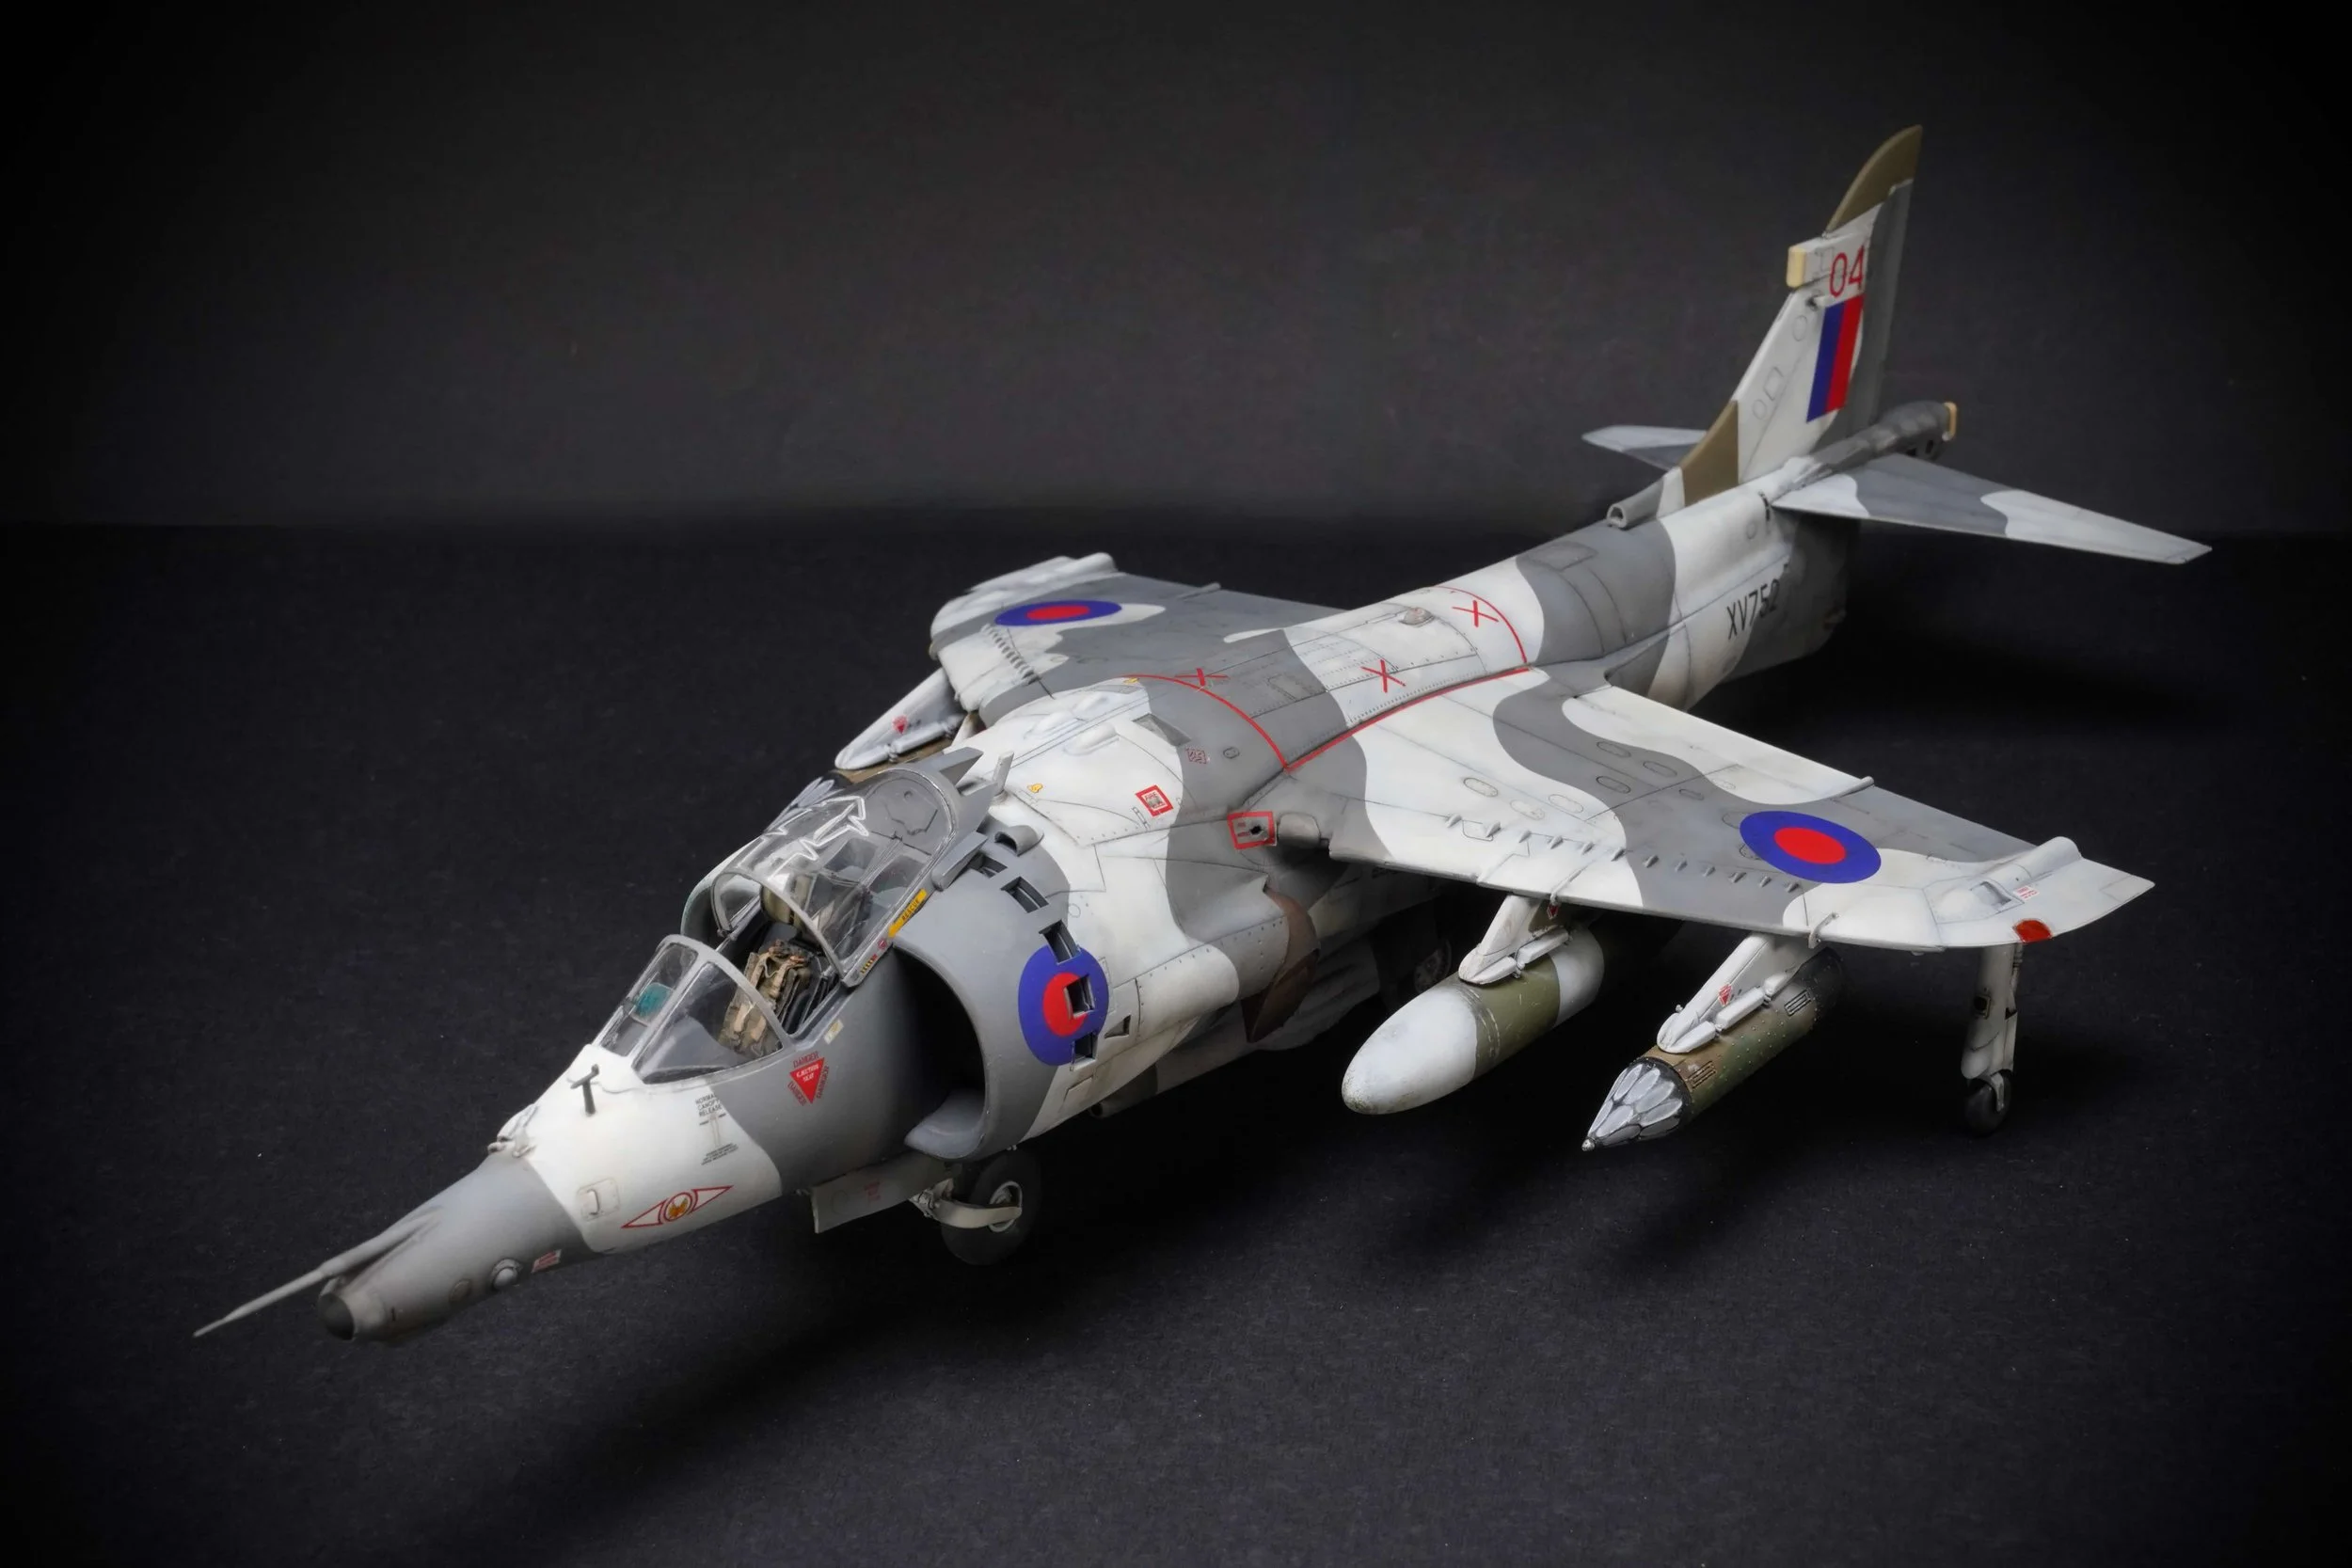
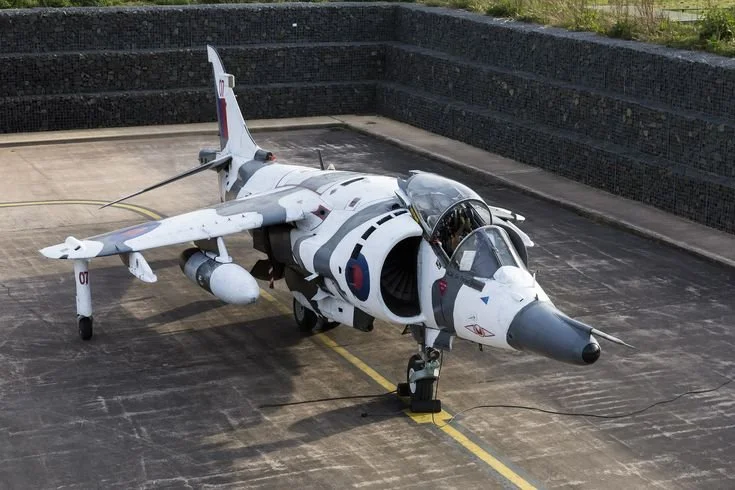
A laser nose fairing housing a Laser Ranger and Marked Target Seeker (LRMTS)
Strengthened structure for better survivability
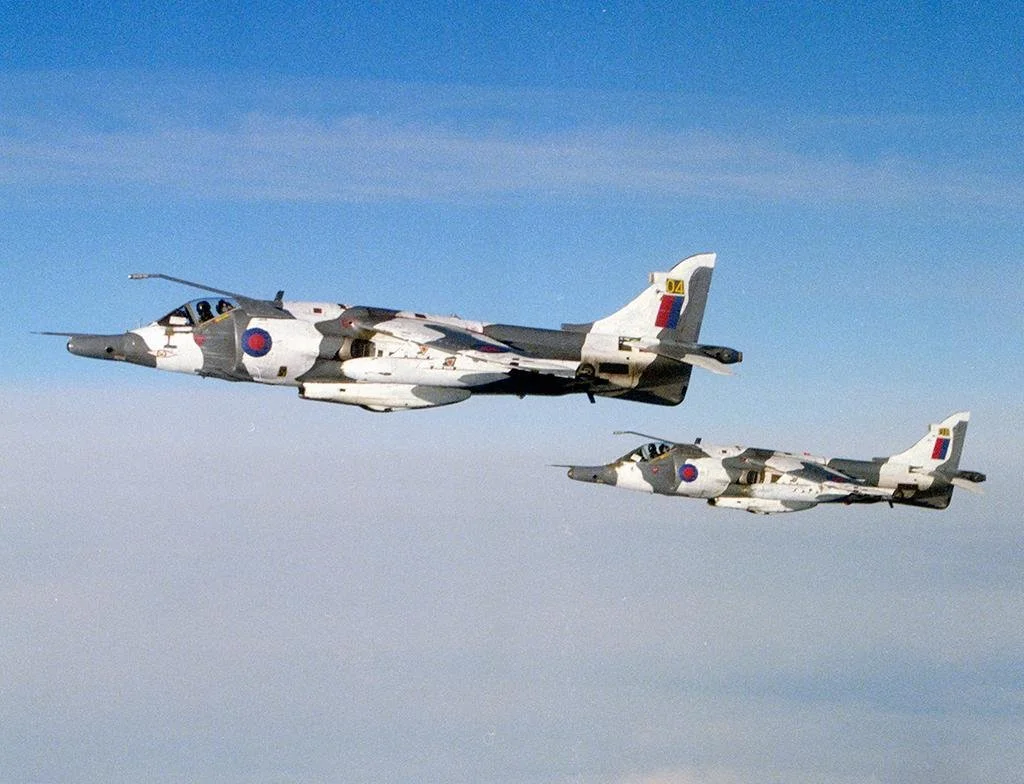
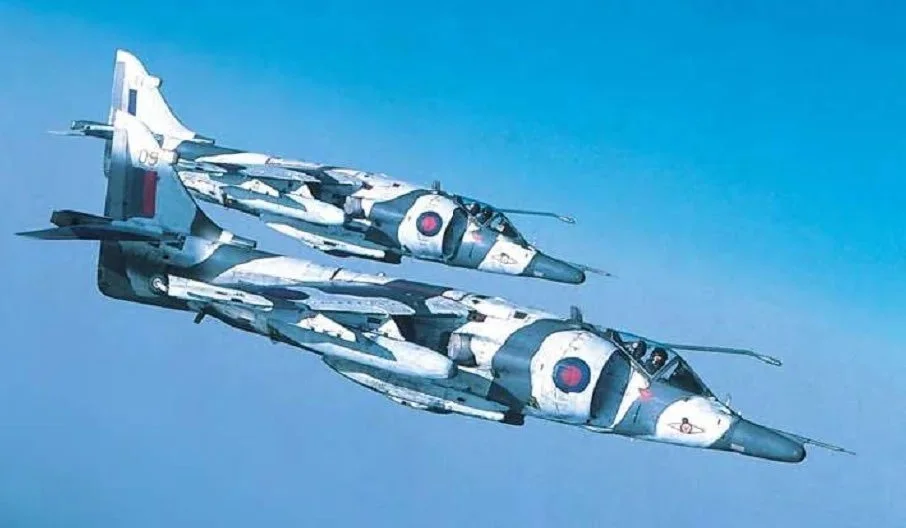
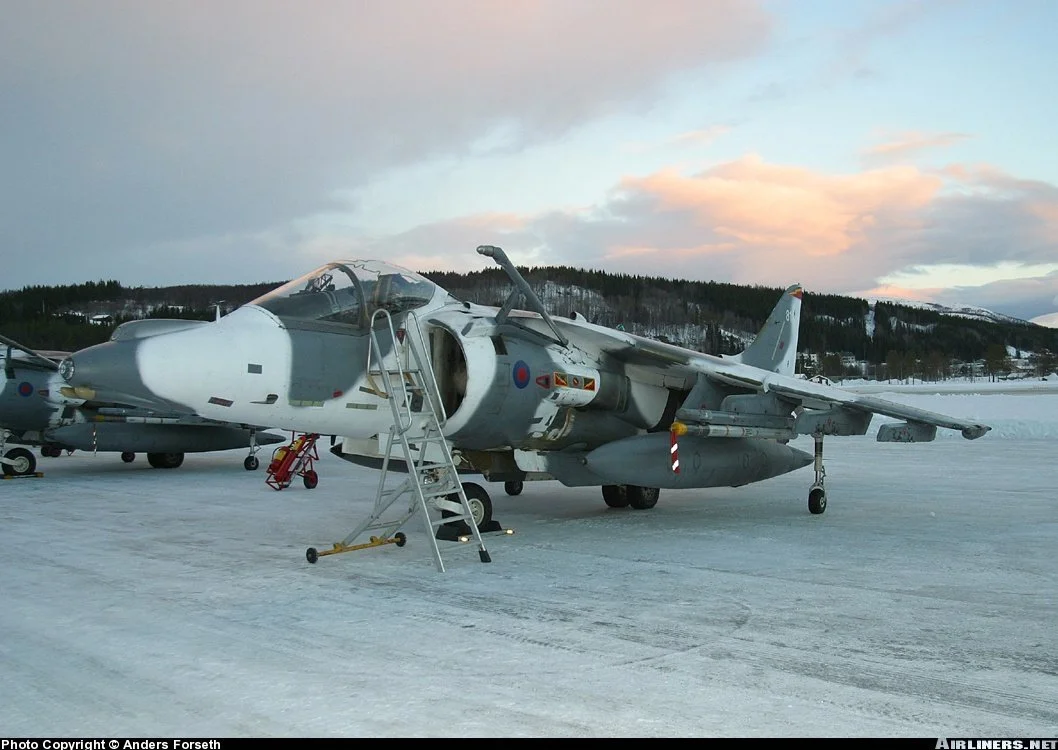
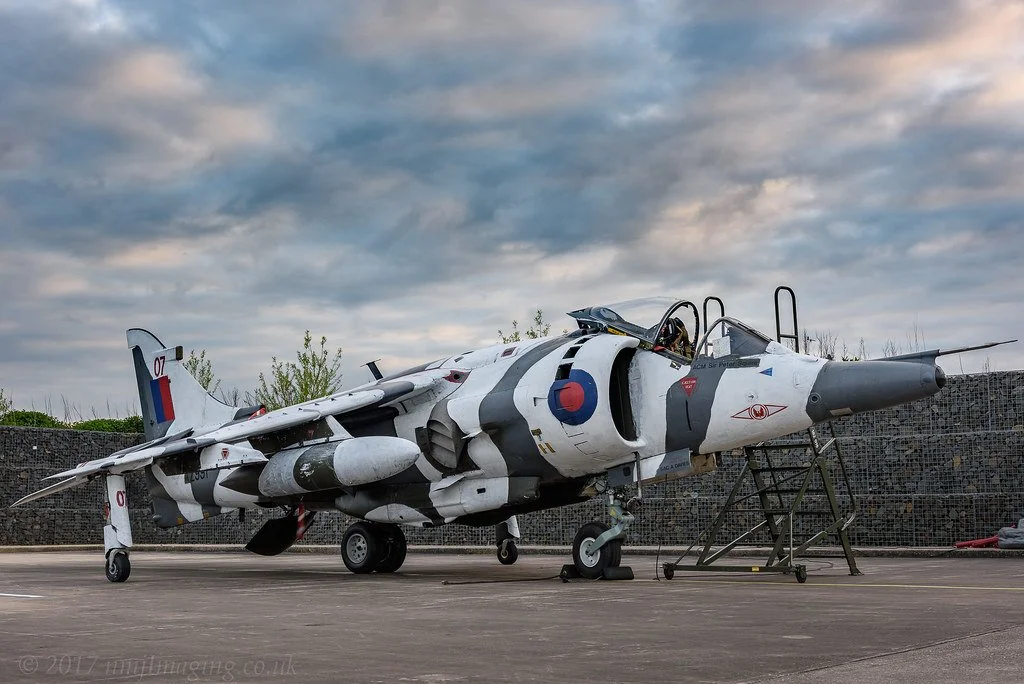
That distinctive pointed nose fairing is one of the easiest visual cues for modellers. It gave the GR.3 a slightly more purposeful look compared to the earlier rounded nose of the GR.1.
The Pegasus engine remained the heart of the aircraft. Its four swivelling exhaust nozzles allowed the pilot to vector thrust in flight, meaning the Harrier could take off from extremely short strips or even vertically when lightly loaded. In reality, fully vertical take-offs were rare in operational conditions due to weight and fuel limits. Short rolling take-offs were far more common.
Cold War Role in Germany
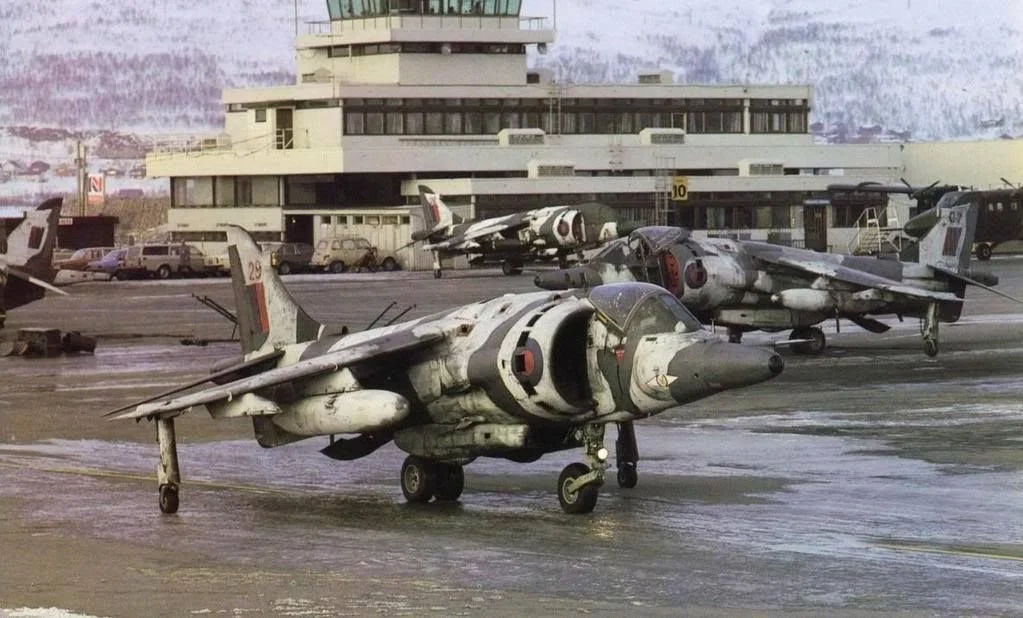
Throughout the 1970s and early 1980s, GR.3 squadrons were based in West Germany as part of NATO’s front line against the Warsaw Pact.
Operating from dispersed sites, they were intended to:
Strike advancing armoured formations
Attack supply lines
Provide close air support to British Army units
The Harrier’s ability to hide in forests and operate from makeshift forward strips gave it a survivability advantage in a European war scenario where airfields would likely be prime targets.
This period also gave us the classic RAF Germany camouflage schemes — disruptive greens and greys that look fantastic on a model.
The Falklands War – 1982
The GR.3’s defining combat moment came during the Falklands War.
Although the naval air defence role was handled by the Sea Harrier, RAF GR.3s were deployed south aboard the carrier HMS Hermes. It was a remarkable demonstration of flexibility — RAF aircraft operating from Royal Navy carriers in a live war zone.
In the South Atlantic, the GR.3 performed:
Close air support missions
Ground attack sorties
Armed reconnaissance
They operated in harsh weather, from short carrier decks, often heavily loaded, and under constant threat from Argentine air defences.
One GR.3 was lost in combat. The aircraft proved rugged, adaptable, and capable in real-world operations — silencing critics who had questioned the Harrier concept.